Casually Crafting Design Team Hop – New Year, New Technique

The Casually Crafting Design Team are a group of Independent Stampin’ Up! demonstrators that want to share our love of crafting with you all.  We will be sharing what we love every 3rd Friday of each month.  Make sure you check out the rest of the Design Team’s creative projects using the photo links at the end of this post.

New Year, New Technique

I trust that you all have a very peaceful and relaxing Christmas and New Year.  So far 2021 seems to be following in the footsteps of it’s predecessor with most of the UK back in strict lockdown.  I’m looking on the positive side of this as I’m getting to spend so much time in my craft room!  Albeit I miss seeing my class ladies on a regular basis but oh the party we will throw when things return to ‘normal’!

This months theme is ‘New Year, New Technique’, I’m taking a spin on this in that I’m showcasing a new product with a technique to using it and an old technique but with a NEW stamp set!

If you’ve looked through the new catalogue you may have spotted some gold leaf – this product is amazing – just make sure to hold your breath when using it as it is nearly lighter than air!  Coupled with the return of heat and stick powder (a powder similar to embossing that turns to glue when heated) this is an amazingly simple product to get a real wow effect.

TOP TIP – take a small amount of these flakes out of the tub and transfer them to another container because you will never get them all back in the tub if you tip them out.  PLUS they are less likely to escape and stick to every surface within your work area!

ART GALLERY
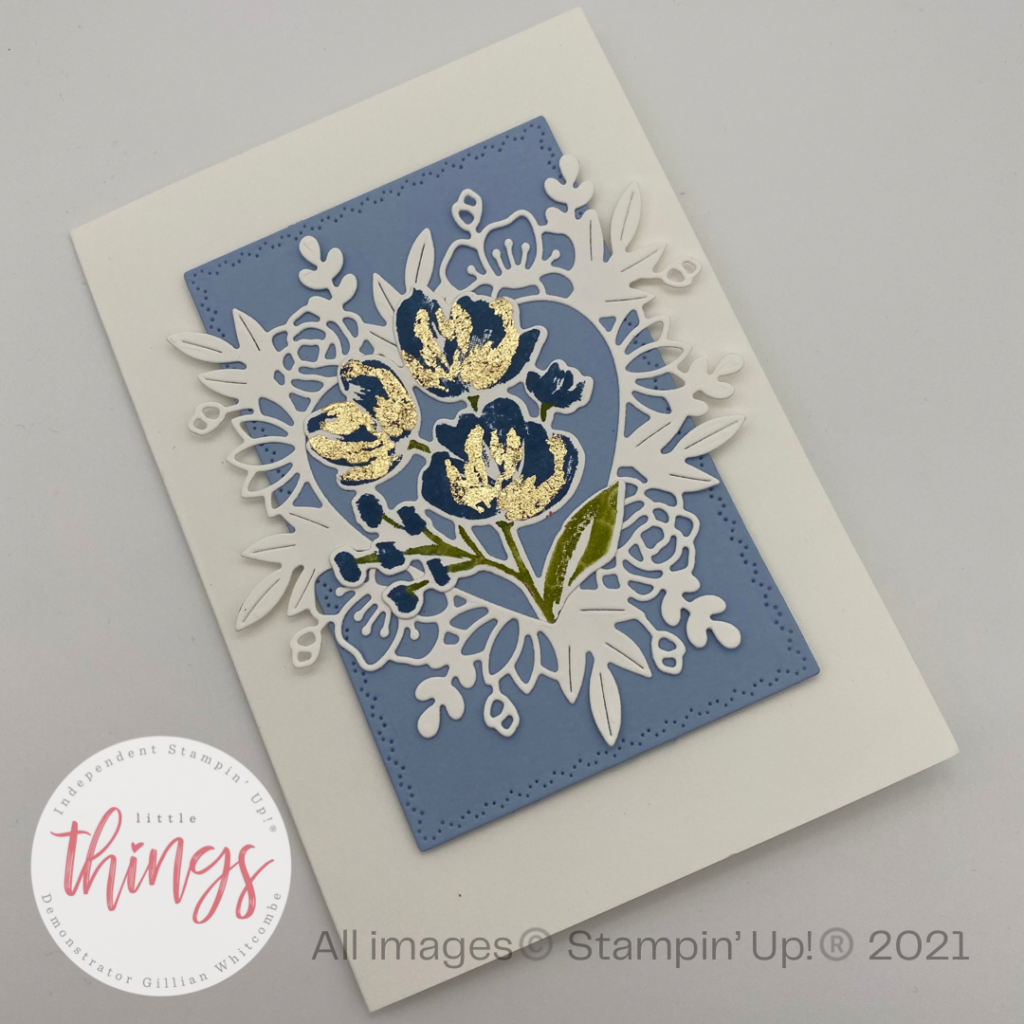
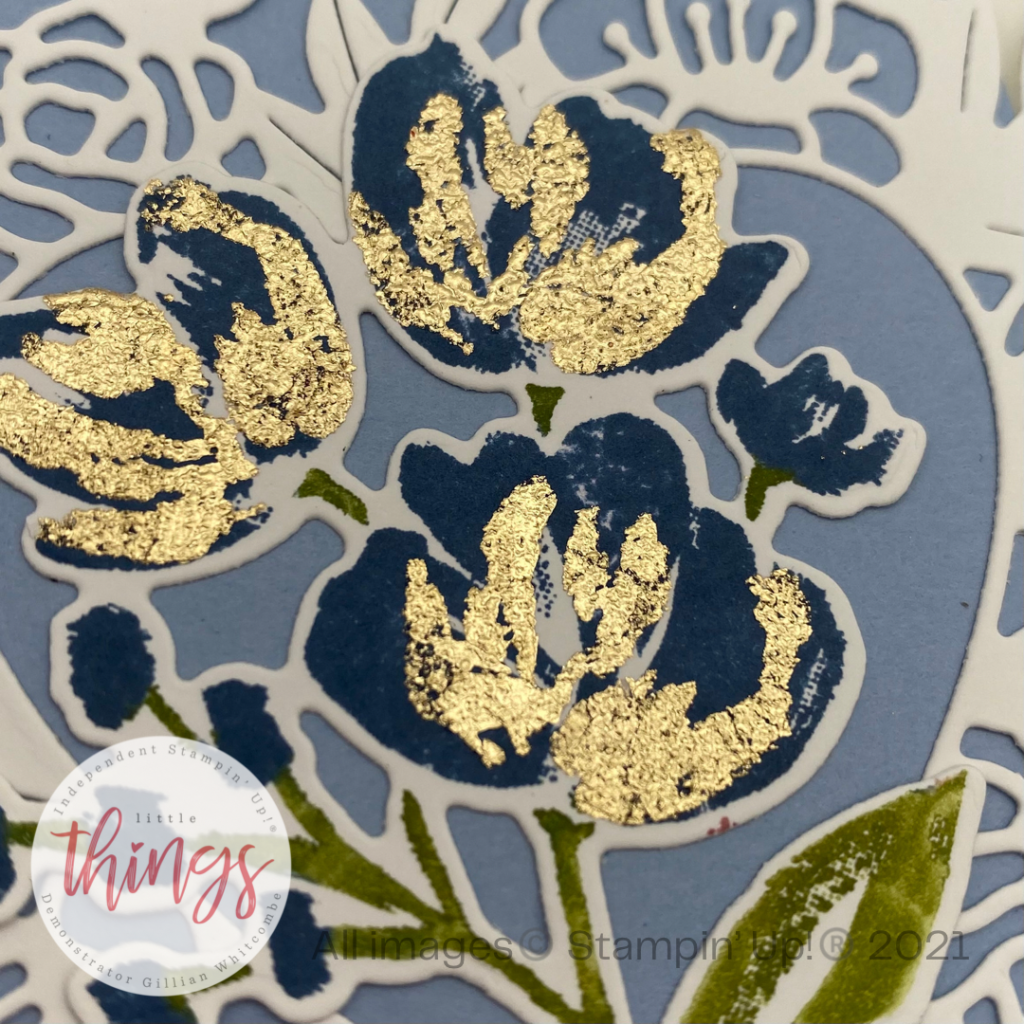
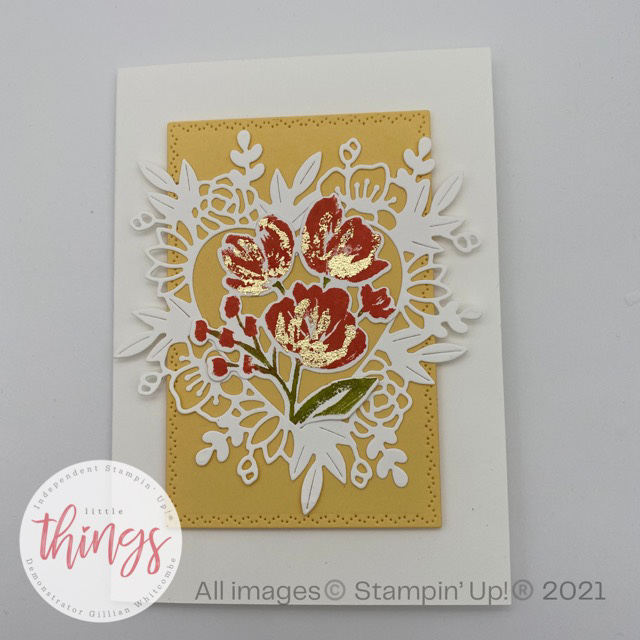
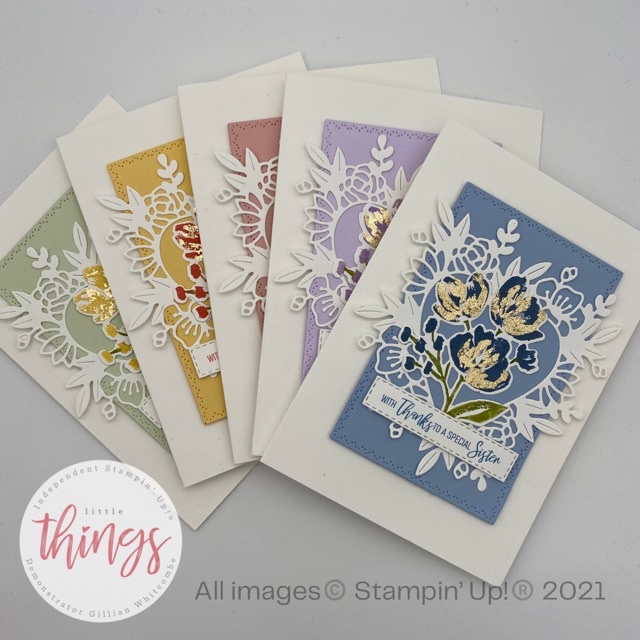
I didn’t go specifically with a CASUAL card this month, and in fact I used three different sets of dies, the rectangle is from nature’s thoughts although you could just use your trimmer to cut a rectangle.  The stunningly gorgeous floral heart comes from ‘floral heart’ dies.  Whilst these dies co ordinate with Always in my heart stamp set they are great as stand alone dies to add to your collection.  I also used the dies in the Art Gallery bundle to cut the stamped floral image, although you could fussy cut the flowers if you are on a budget.
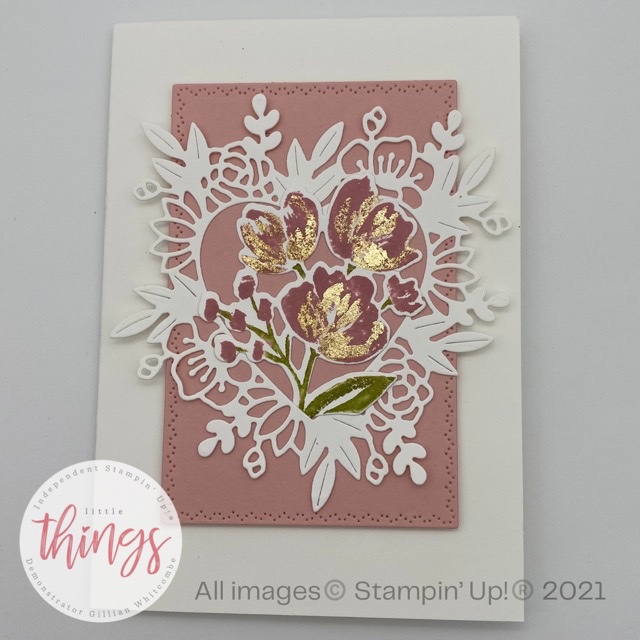
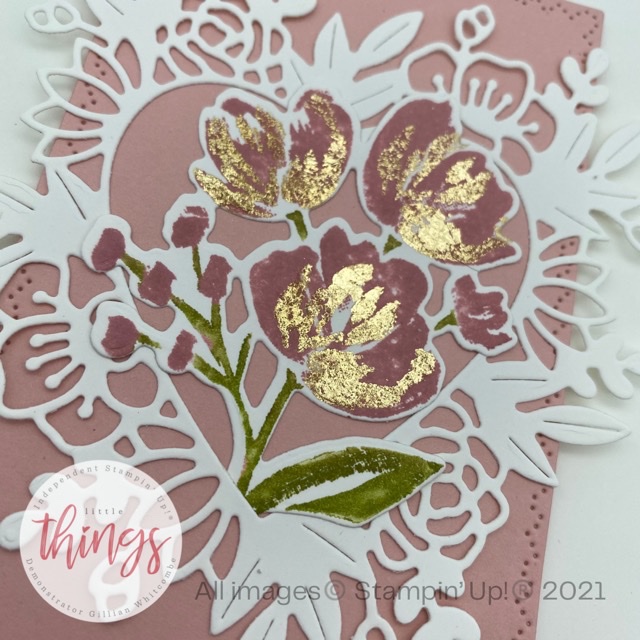
 

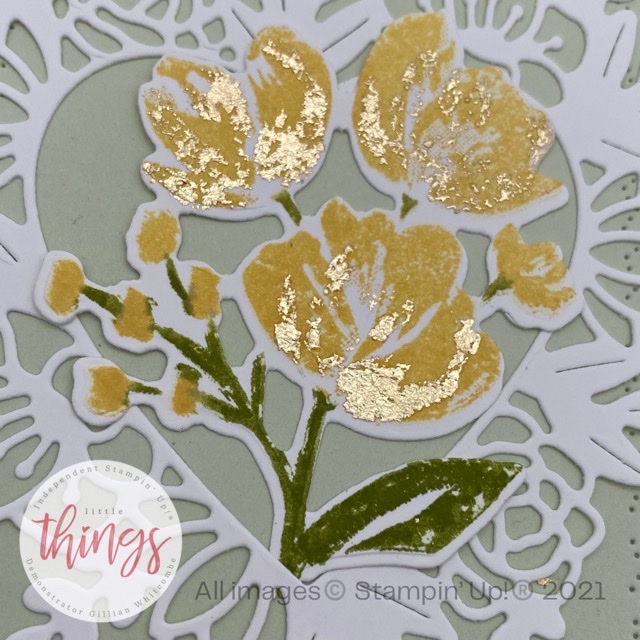
The Art gallery stamps themselves are two step however to achieve the look I wanted I added an extra step.  First off all I inked the main floral image of the stamp with the colour of my choice.  The first sample uses misty moonlight, then using the edge of my shammy I carefully remove any excess ink that was on the stem or leaves of the image.  I then coloured these areas of the stamp using my old olive marker (this is in the regals marker pack).  A quick ‘huff’ on the stamp and I got a perfect image every time.

TOP TIP – when using markers to add colour to polymer stamps in particular, ink them first in versa mark ink.  This helps the colour ‘stick’.

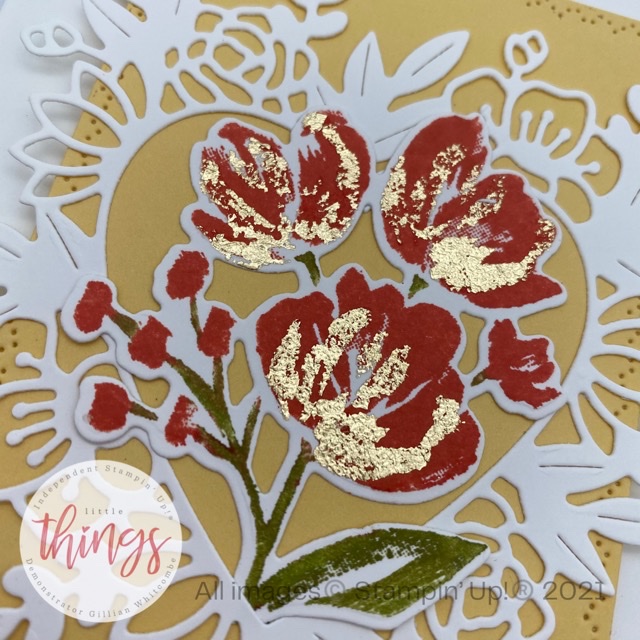
The next step used the smaller stamp to accent the flowers, I stamped it in versa mark ink and then sprinkled on my heat and stick powder, much like you would do with embossing powder.  After heating it with my heat tool the powder turns sticky.  I carefully laid gilding leaf to cover the sticky area.  I tried two different methods to remove the excess leaf and buff – firstly I tried a stiff bristled paint brush and secondly I used one of the stampin sponges.  Both worked well – although if you go for the sponge option I would recommend keeping one specifically for us with the gilding leaf.
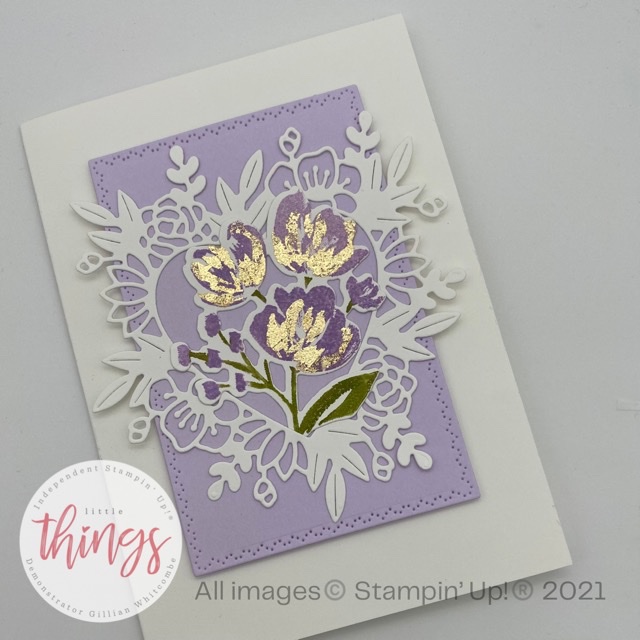
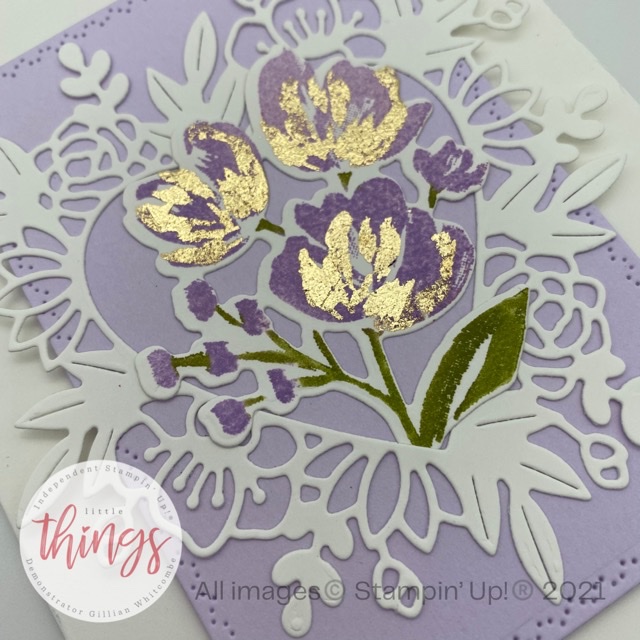
 

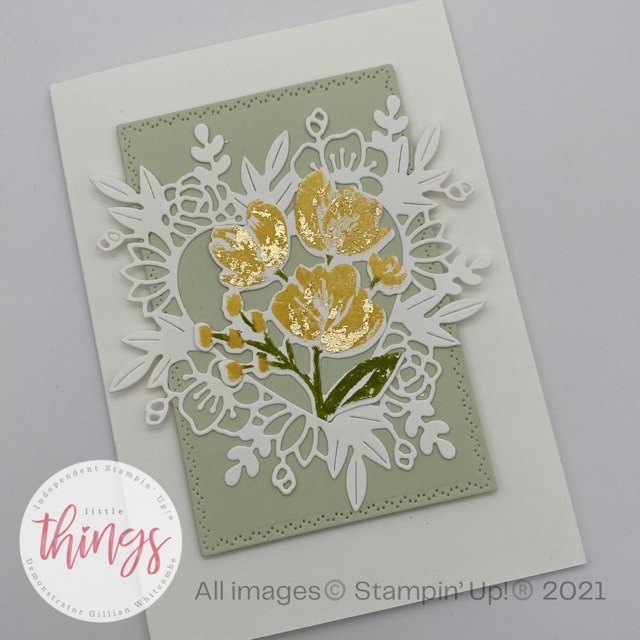
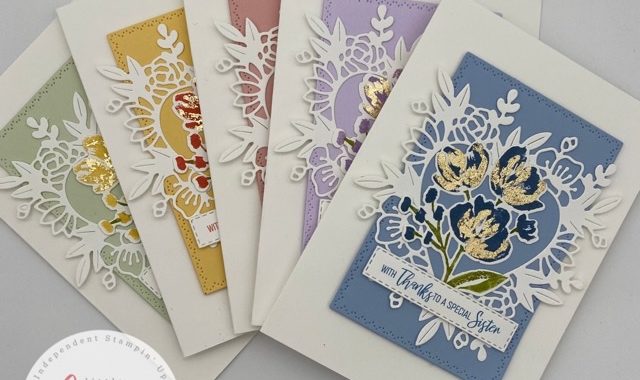
As as you can see from my pictures I went a little mad and I couldn’t stop playing with this combo so I made five cards, all in different colour combos.  Seaside spray paired with misty moonlight, blushing bride paired with rococo rose, so saffron paired with calypso coral, purple posy paired with highland heather and soft sea foam paired with so saffron.

Pick your favourite?

So which one do you prefer?  I really couldn’t make up my mind!

Initially I left them without a sentiment but having received an order for five thank you cards I printed a quick sentiment and attached it.  When they were delivered yesterday  the lady was overjoyed…. but she couldn’t pick a favourite either!

I’ve listed the products I used below and don’t forget with Sale-a-Bration now live for every £45 spend you get to select one FREE exclusive item!  But if you’re like me and want it all you should consider joining my team.

Thank you so much for stopping by my blog today, I hope you are inspired by my cards!  Don’t forget to continue with the hop and see what the rest of this amazing team have made, you won’t be disappointed!  Until next time happy crafting!!

  Love Me x x x

Casually Crafting Design Team Photo Links

Click on the photos below to continue along this month’s hop from the rest of the Casually Crafting Design Team and don’t be shy about leaving comments we would love to hear from you!

Product List

SAB BROCHURE CATALOG

Ready, Steady, Sale-a-brate

Hello again and a very happy New Year and a new decade!  Wishing you all a marvellously crafty 2020!  As of yesterday our brand new Mini catalogue launched and along with it our annual sale-a-bration catalogue!

What is Sale-a-Bration?

If you’re new to Stampin’ Up! you may well wonder what all the hype is with Sale-a-bration; well it’s definitely the most wonderful time of the year for Stampin’ Uppers!  For every £45 you spend in my online store you get to select an exclusive gift for FREE!  Yes you read that right for FREE!

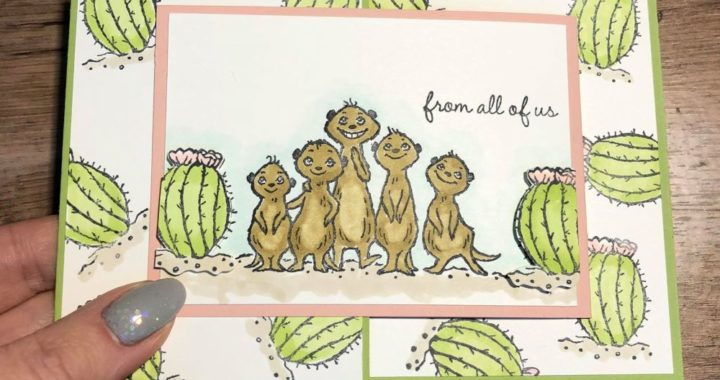
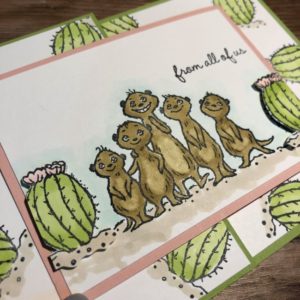
The beautiful meercat card I posted the other day is one of the free stamp sets (The Gang’s All Meer); but it’s not only stamp sets you can redeem for free, there are embellishments, designer papers, card kits, punches, embossing folders, basically lots of choice to suit everyone.

If that’s not enough and you want MORE every year during Sale-a-Bration Stampin’ Up! makes if fabulous joining offer even more fabulous!  This year for only £99 you get to select £130 worth of products PLUS a new mini paper cutter PLUS a 6″x6″ designer series paper sampler PLUS your choice of ANY stamp set offered across all current publications!  If that’s enough you also get FREE business supplies and FREE shipping! All in all I estimate this to be over £200 value for £99.

Anyway you can probably tell I’m a little over excited! Today I have another lovely card to show you featuring another set that is FREE during Sale-a-Bration.

Happy Birthday to You

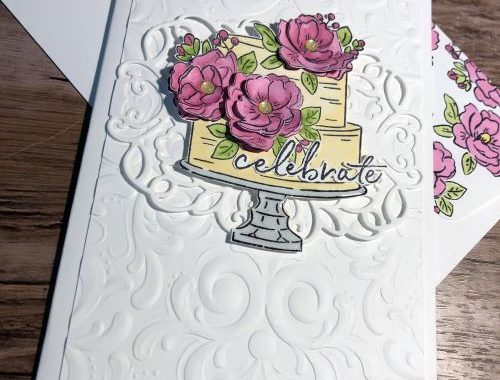
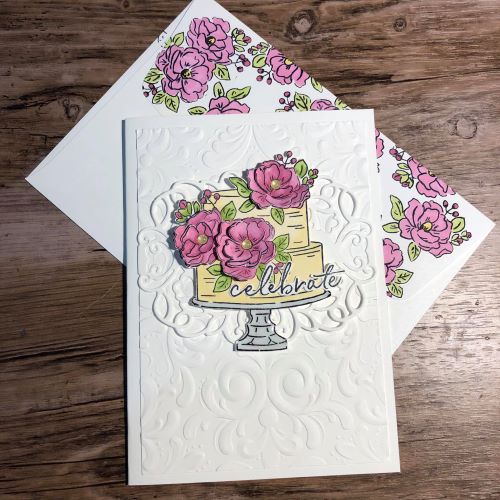
This gorgeous cling mount stamp set features five lovely stamps, the focal being a beautiful floral decorated cake.  I’ll show you some photographs and then tell you a little about how I made it!

I started with a standard card base made from thick whisper white card stock.  The embossed layer, also whisper white cardstock is embossed using the new Parisian embossing folder.  I used the detailed bands dies to add some interest under the cake.

I stamped the cake image three times. One I coloured fully with the blends markers (colours listed below).  The second I cut the full flowers out of, coloured them and using my fingers (or a bone folder) I curled them slightly before adhering to the main cake with tombow multi purpose adhesive.  Using the third stamped imaged I cut out only the central area of the flowers, coloured and shaped them and then added them on top of the last layer.  I finished each flower with a gold glitter enamel dot.

Using the fine tip glue pen I added a layer of dimension to the cake stand.  Note this takes a while to dry so if you are after a card in a hurry skip this part.  Finally I stamped the sentiment on whisper white and fussy cut it before layering onto my cake.

I then assembled the rest of my card, adding dimensionals to the back of my cake topper and there you have it!

Stampin’ Up! Products used

Paper Snips

£9.25

Paper Trimmer

£23.00

I hope you enjoyed today’s project, if you’re visiting please leave me a comment to let me know you’ve dropped by!

If you would like to come along to one of my classes you would be more than welcome.  They are currently twice weekly in Portaferry, Co. Down!  All skill levels welcome!  Next class is this Tuesday at 7.00 pm!

Have a fabulous weekend, until next time!

Gillian x

All images (c) Stampin’ Up!


Casually Crafting Celebration Blog Hop

Hello and a huge welcome to the first Casually Crafting Celebration blog hop! To kick off our new hop and in preparation for Sale-a-Bration 2020 we have chosen the theme of ‘celebration’ for this hop.

The Casually Crafting Design Team are a group of Independent Stampin’ Up! demonstrators that want to share our love of crafting with you all.  We will be sharing what we love every 3rd Friday of each month.  Make sure you check out the rest of the Design Team’s creative projects using the photo links at the end of this post.

The Gang’s All Meer

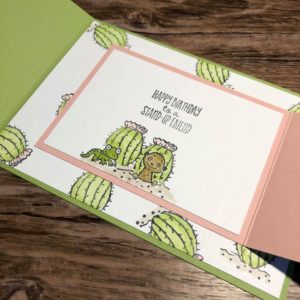
For the celebration theme I opted for the new stamp set ‘The Gang’s All Meer’ which I think celebrates friendship which for me is what Stampin’ Up! is all about, AND there are five meercats on the front one for each of our Design Team members (except for this month – we are only four).  Apart from being a super cute stamp set it also comes totally FREE with a £45 spend during Sale-a-Bration which starts on the 3rd January.

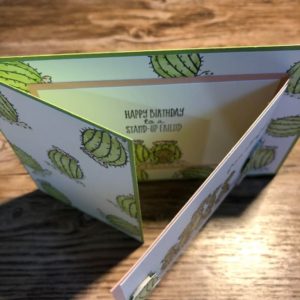
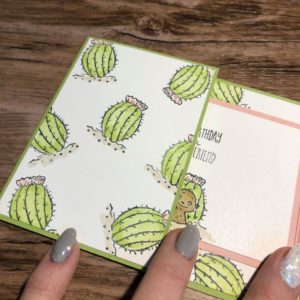
It’s always exciting getting a new stamp set and inking it up for the first time and I’ve really challenged myself to stay ‘casual’ with this card and made it easy for you to recreate should you wish to do so.  The style of card is called a ‘Joy’ fold, even the name fits in with celebrations!


   I hope you like my card and my interpretation of our theme this month.  Don’t forget to click on the photographs below to continue hopping and see what the rest of the Casually Crafting Design Team have come up with!

Thanks again for hopping by!  See you soon!

Love Me x

Casually Crafting Design Team Photo Links

Click on the photos below to continue along this month’s hop from the rest of the Casually Crafting Design Team and don’t be shy about leaving comments we would love to hear from you!

Stampin’ Up! Products Used

Paper Trimmer

£23.00

Paper Snips

£9.25

Sale-a-Bration is coming SOON!

From the 3rd January for every £45 spend across all our publications you will be able to select one free special edition gift from the Sale-a-Bration catalogue.  Yes – you read that right!  What’s more you can join my team for the normal price of £99 but during Sale-a-Bration you get so much more!  This year you will be able to pick ANY stamp set from the annual or spring catalogue for free, in addition you will receive a FREE mini guillotine and a paper sampler.  The paper sampler contains 48 6″x6″ sheets of new designer series paper that is in the Spring catalogue!  For more information or to join my team click the here

Continue reading

Lovely as a tree

Lovely as a tree is just that… lovely. It’s one of, if not the longest standing stamp set from Stampin’ Up! Generally I use it at Christmas with glitter, and lots of it but recently one of the ladies at my class asked for to appear at class to help her come up with other ways to use it.

I love crisp clean images and I also love sponging, I don’t do it too often but always enjoy it when I do. For this card I used low tack masking tape above and below where I wanted the ink. Using a piece of stampin’ sponge I sponged the area with so saffron, before adding a punched circle mask, made from a post it note. Next I sponged using daffodil delight, calypso coral, tangerine tango and then a touch of Cajun craze, I then blended it all with a little more daffodils delight.

My tip to get nice smooth sponging is to start off the page on scrap paper and work in gentle circular movements. Once the sponging was complete I gently peeled off the masking tape. I stamped the image in memento black ink and coloured using the Stampin’ markers in garden green and chocolate chip.

I then cut two thin strip of chocolate chip card and adhered them below the image and finished with a sentiment in chocolate chip, a gold button.

The result is a simply stunning card, ideal for all sorts of occasions not just birthdays. I actually think this would make a perfect sympathy card as well. I’m hoping to find some time to recreate this in alternate colours, what combos do you think would look good… and I should I go outside the box….

So on another note entirely have you been hit but the beast from the east? We’ve had a bit of snow here in Portaferry today, being a coastal town this is unusual especially when other areas haven’t had any…. yet! It’s a weird snow, dry and powdery most unlike our usual wet slush. Beautiful to look at. Especially when you’re inside in front of the fire or sitting in your nicely warmed craft room. By all accounts we are in for a chilly weekend!

If you need any other details on how to complete this project please just drop me a comment below, even if you don’t I’d still love to hear from you.Until next time, stay safe and warm and if you have to go out take care, the roads are treacherous!

God bless.

Gillian x

Product List
Lovely As A Tree Clear-Mount Stamp Set

Lovely As A Tree Wood-Mount Stamp Set

Stamping Sponges

So Saffron Classic Stampin' Pad

Daffodil Delight Classic Stampin' Pad

Calypso Coral Classic Stampin' Pad

Tangerine Tango Classic Stampin' Pad

Cajun Craze Classic Stampin' Pad

Tuxedo Black Memento Ink Pad

Neutrals Stampin' Write Markers

Bird Banter Photopolymer Stamp Set

Clear Block C

Clear Block D

Whisper White A4 Thick Cardstock

Whisper White A4 Card Stock

Chocolate Chip A4 Card Stock

Stampin' Trimmer

True Gentleman Buttons

1-1/4

Regals Stampin' Write Markers

Twenty-one!

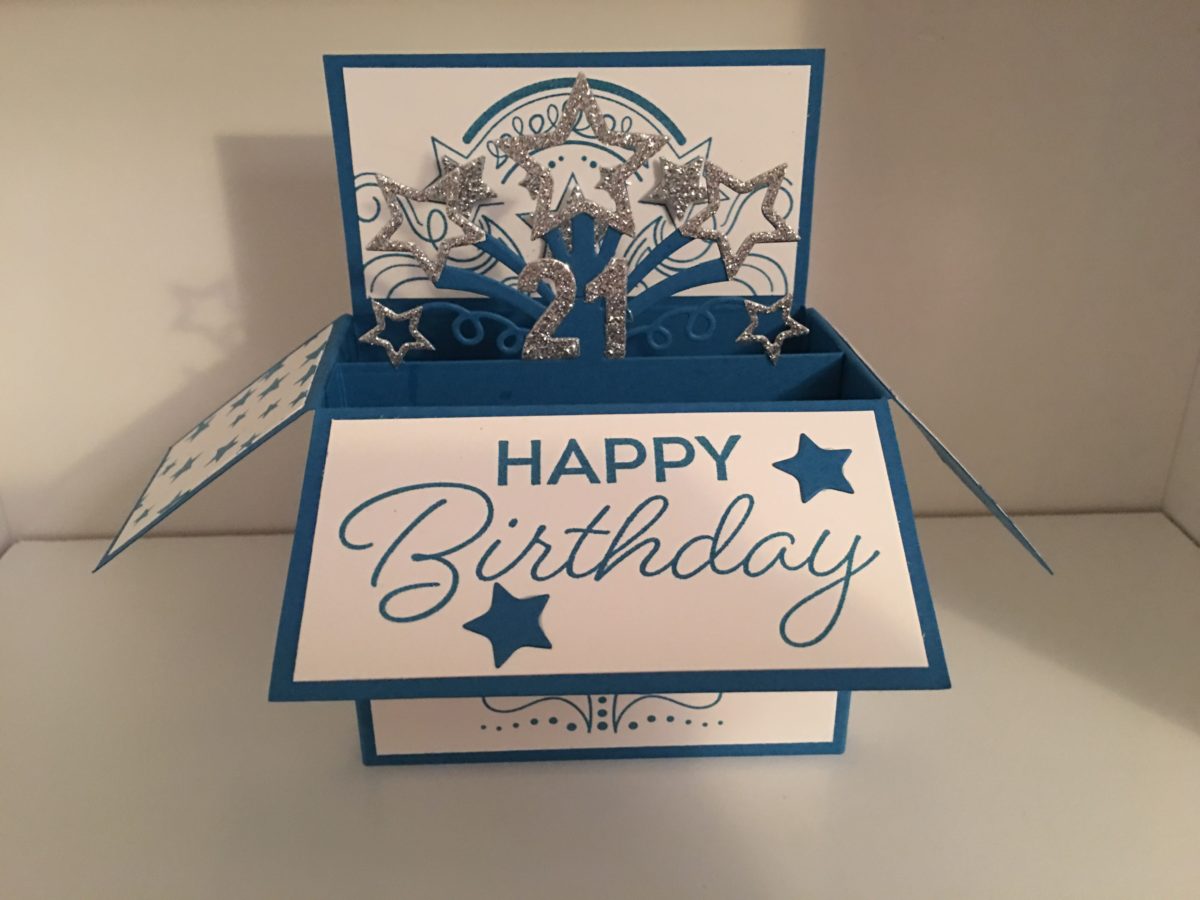
Yesterday I told you it was my step sons 21st birthday today and the card we created last night in Class was based on the card I had made for him! 

It’s safe to share now as his Dad has taken it to give him at lunch time today!

I used the now retired birthday blast bundle for this. I won’t lie cutting the wee silver stars was fiddly probably because I’m frugal with my glitter card and only wanted the stars… in hindsight it would have been a lot easier and quicker just to cut the full panel and remove the stars!

I love the crisp, clean lines of Pacific point with white and that splash of silver. I used the stars from the negative space to decorate the top panel and placed them on dimensionals to add some depth. 


I hope you like my card and more importantly I hope Gareth likes it and has a wonderful day!

Time flies and has a way of making me feel rather old. My son turned seventeen in July, my daughter was fourteen in May and is going on thirty, and now Gareth is 21, he had just turned seven when I met him for the first time. 

If you want the cutting and score guide for this card just leave me a note and I’ll get the straight to you!

For now I’m off for a long overdue catch up with friends, happy stamping!

Love Gillian x