The Casually Crafting Design Team are a group of Independent Stampin’ Up! demonstrators that want to share our love of crafting with you all. We will be sharing what we love every 3rd Friday of each month. Make sure you check out the rest of the Design Team’s creative projects using the photo links at the end of this post.
New Year, New Technique
I trust that you all have a very peaceful and relaxing Christmas and New Year. So far 2021 seems to be following in the footsteps of it’s predecessor with most of the UK back in strict lockdown. I’m looking on the positive side of this as I’m getting to spend so much time in my craft room! Albeit I miss seeing my class ladies on a regular basis but oh the party we will throw when things return to ‘normal’!
This months theme is ‘New Year, New Technique’, I’m taking a spin on this in that I’m showcasing a new product with a technique to using it and an old technique but with a NEW stamp set!
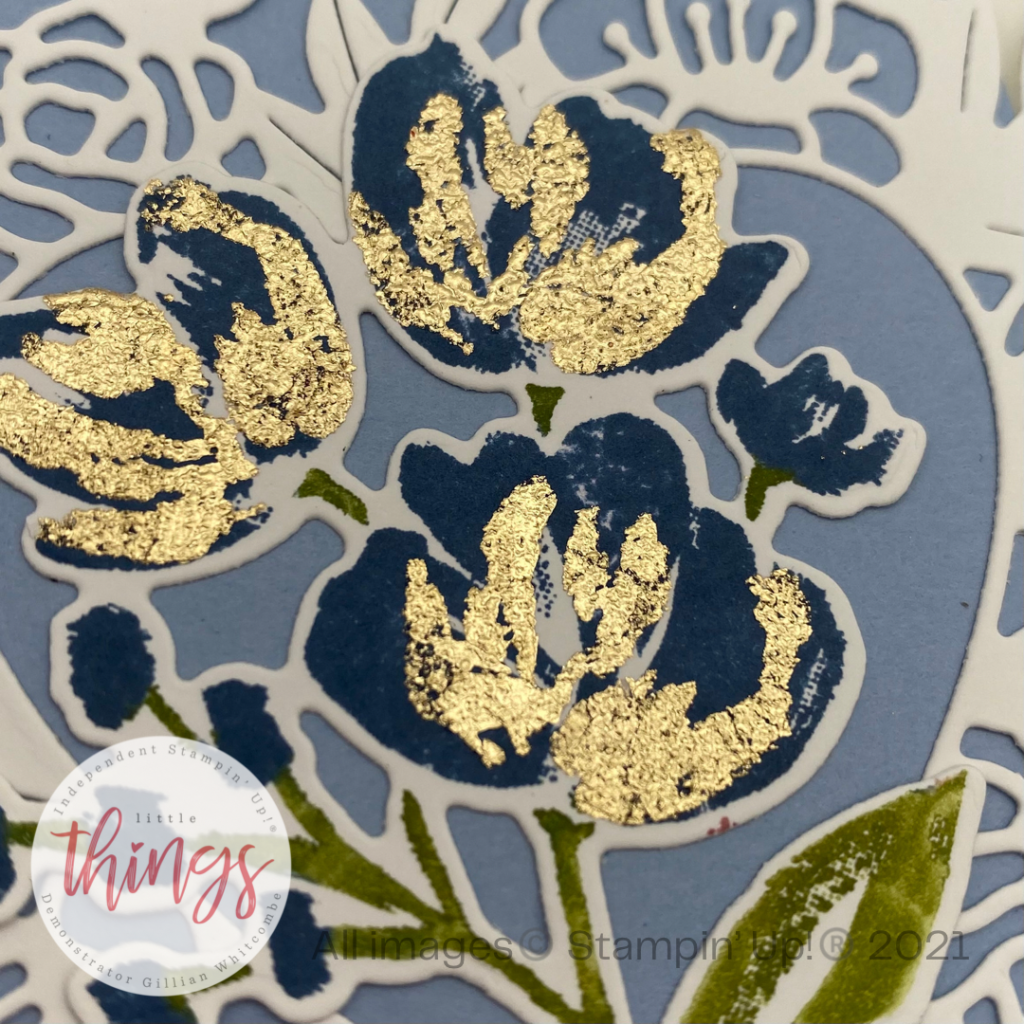
If you’ve looked through the new catalogue you may have spotted some gold leaf – this product is amazing – just make sure to hold your breath when using it as it is nearly lighter than air! Coupled with the return of heat and stick powder (a powder similar to embossing that turns to glue when heated) this is an amazingly simple product to get a real wow effect.
TOP TIP – take a small amount of these flakes out of the tub and transfer them to another container because you will never get them all back in the tub if you tip them out. PLUS they are less likely to escape and stick to every surface within your work area!
ART GALLERY
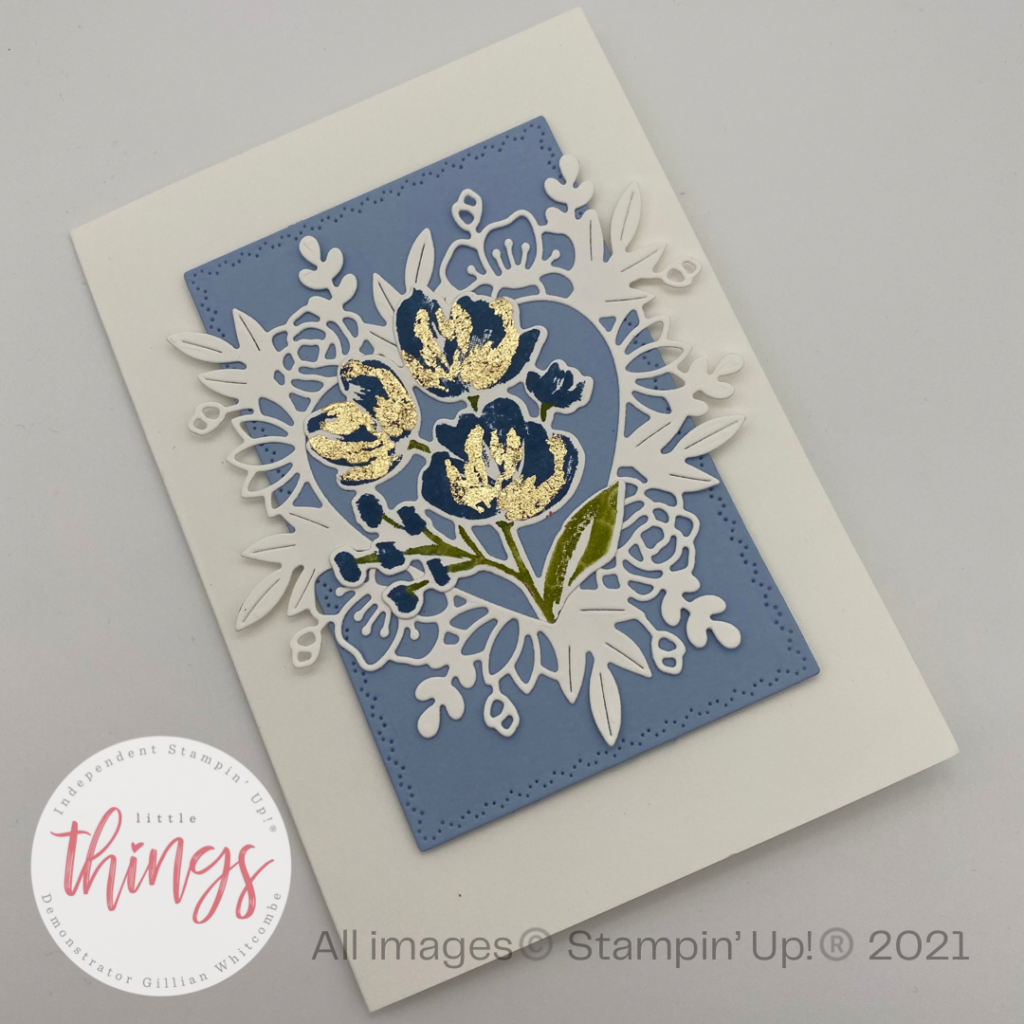
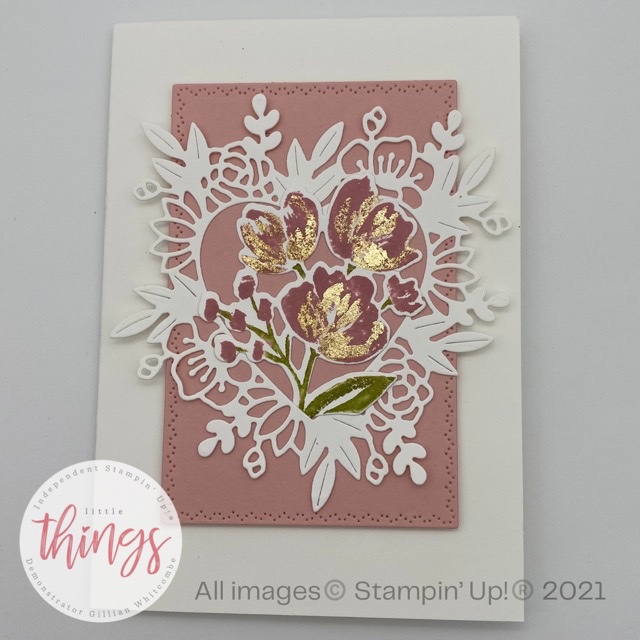
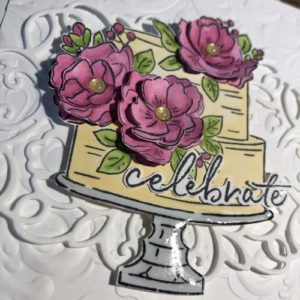
I didn’t go specifically with a CASUAL card this month, and in fact I used three different sets of dies, the rectangle is from nature’s thoughts although you could just use your trimmer to cut a rectangle. The stunningly gorgeous floral heart comes from ‘floral heart’ dies. Whilst these dies co ordinate with Always in my heart stamp set they are great as stand alone dies to add to your collection. I also used the dies in the Art Gallery bundle to cut the stamped floral image, although you could fussy cut the flowers if you are on a budget.
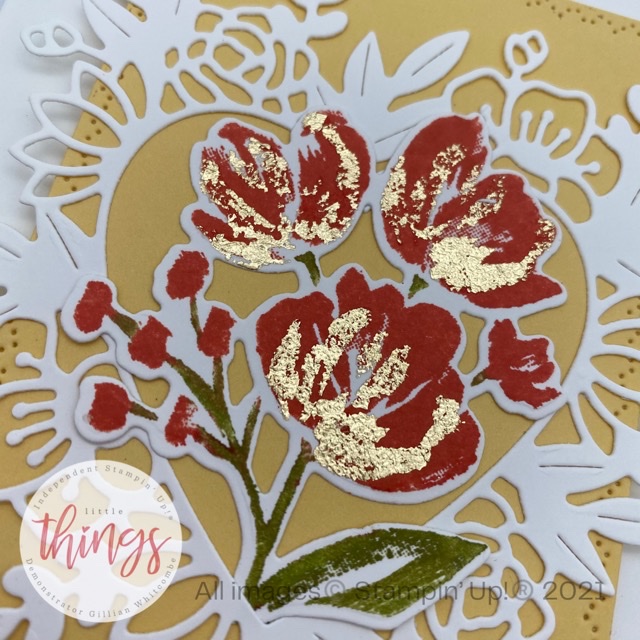
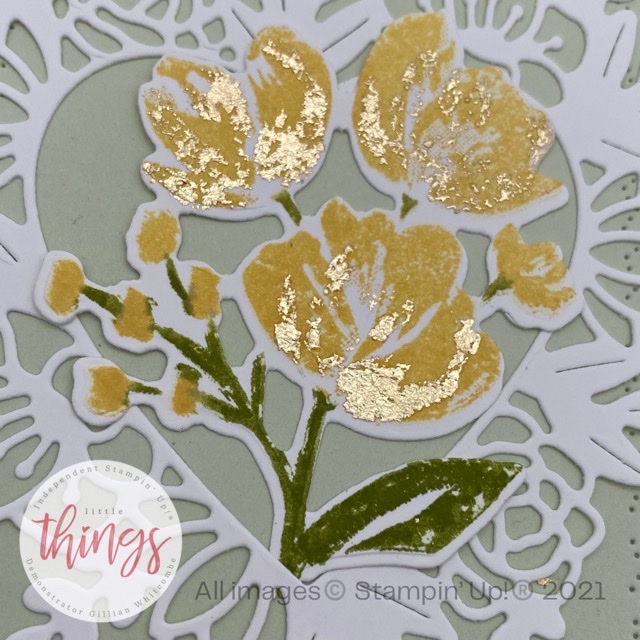
The Art gallery stamps themselves are two step however to achieve the look I wanted I added an extra step. First off all I inked the main floral image of the stamp with the colour of my choice. The first sample uses misty moonlight, then using the edge of my shammy I carefully remove any excess ink that was on the stem or leaves of the image. I then coloured these areas of the stamp using my old olive marker (this is in the regals marker pack). A quick ‘huff’ on the stamp and I got a perfect image every time.
TOP TIP – when using markers to add colour to polymer stamps in particular, ink them first in versa mark ink. This helps the colour ‘stick’.
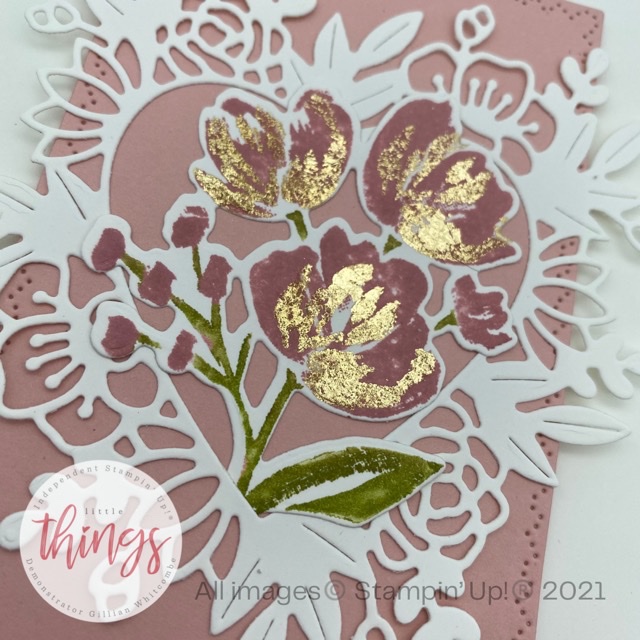
The next step used the smaller stamp to accent the flowers, I stamped it in versa mark ink and then sprinkled on my heat and stick powder, much like you would do with embossing powder. After heating it with my heat tool the powder turns sticky. I carefully laid gilding leaf to cover the sticky area. I tried two different methods to remove the excess leaf and buff – firstly I tried a stiff bristled paint brush and secondly I used one of the stampin sponges. Both worked well – although if you go for the sponge option I would recommend keeping one specifically for us with the gilding leaf.
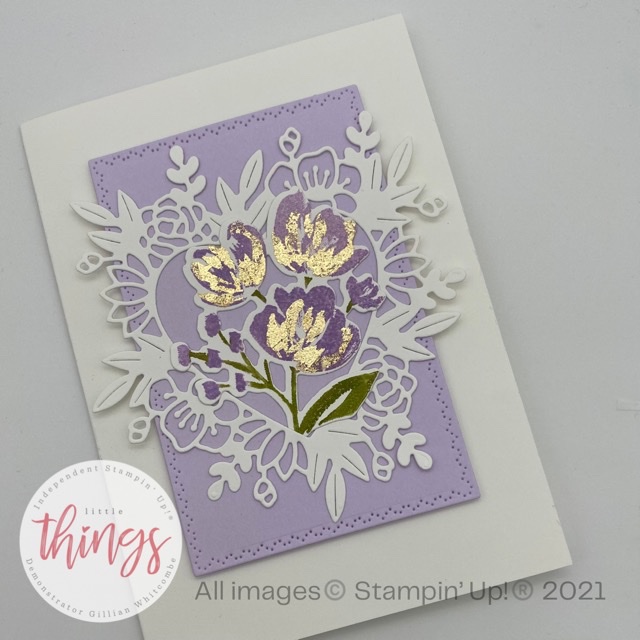

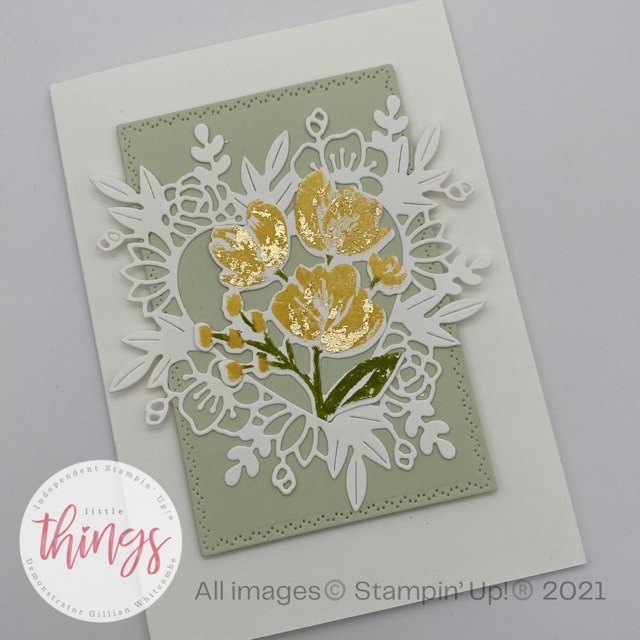
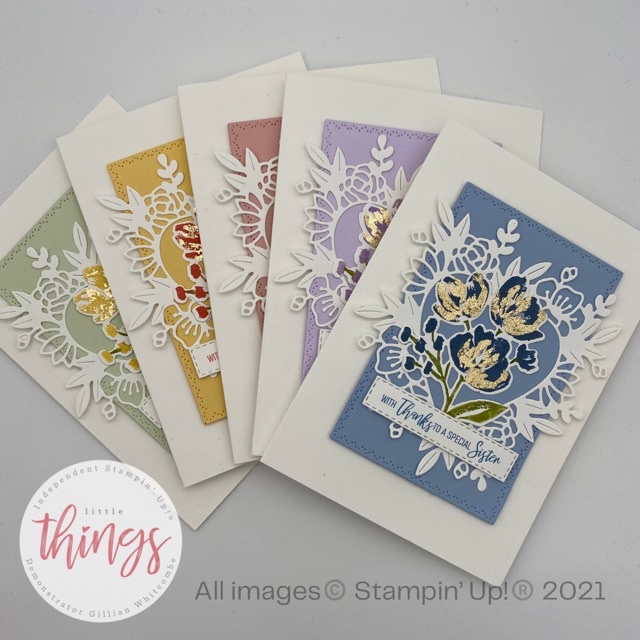
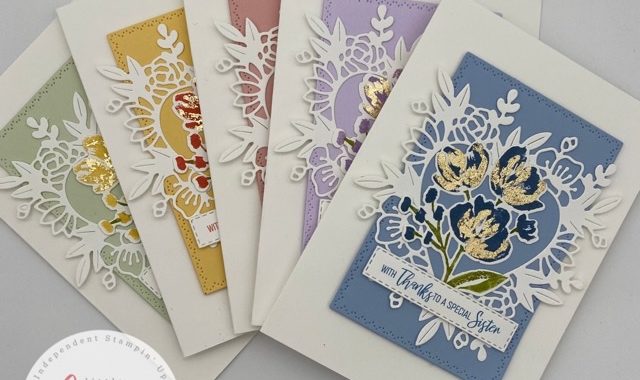
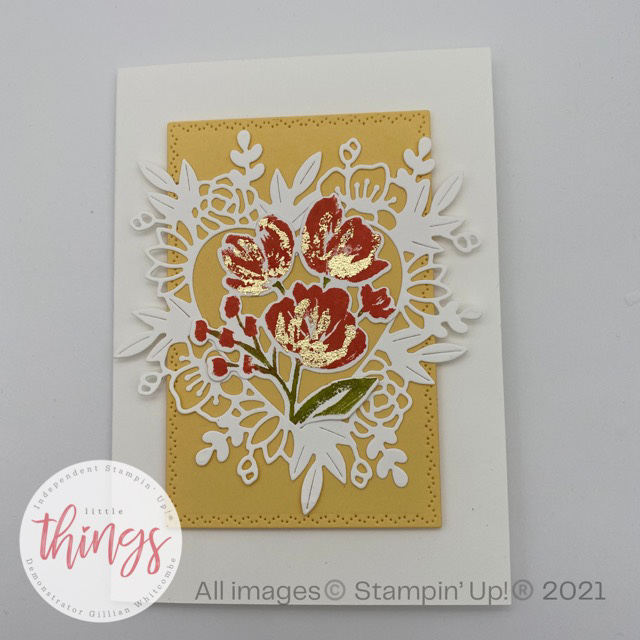
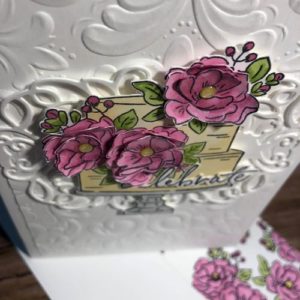
As as you can see from my pictures I went a little mad and I couldn’t stop playing with this combo so I made five cards, all in different colour combos. Seaside spray paired with misty moonlight, blushing bride paired with rococo rose, so saffron paired with calypso coral, purple posy paired with highland heather and soft sea foam paired with so saffron.
Pick your favourite?
So which one do you prefer? I really couldn’t make up my mind!
Initially I left them without a sentiment but having received an order for five thank you cards I printed a quick sentiment and attached it. When they were delivered yesterday the lady was overjoyed…. but she couldn’t pick a favourite either!
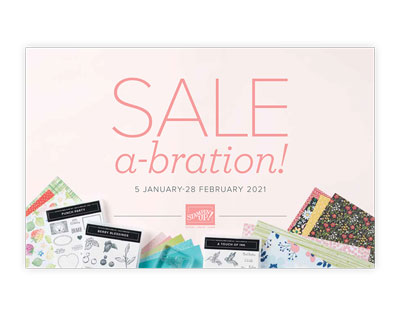
I’ve listed the products I used below and don’t forget with Sale-a-Bration now live for every £45 spend you get to select one FREE exclusive item! But if you’re like me and want it all you should consider joining my team.
Thank you so much for stopping by my blog today, I hope you are inspired by my cards! Don’t forget to continue with the hop and see what the rest of this amazing team have made, you won’t be disappointed! Until next time happy crafting!!
Love Me x x x
Casually Crafting Design Team Photo Links
Click on the photos below to continue along this month’s hop from the rest of the Casually Crafting Design Team and don’t be shy about leaving comments we would love to hear from you!


Product List
|
|
|
|
|
|
|
|
|
|
|
|
|
|
|
|
|
|
|
|
|
|
|||
|
|
|
||
|
|
|
|
|


")