Hello!
It’s been rather a long time since I was last on here, it was one thing after another, after another and before you know it six months have passed. At that point I decided to revamp my blog with help from the lovely Louise Sims who has created the new look that you see now. My little sister who is super creative and a graphic designer in real life created my new simple branding and I love it. If you are looking to relaunch or just revive your own website I really couldn’t recommend Louise highly enough. Check out her website at http://louisesims.co.uk/
Louise finished the work a couple of months ago but I have been putting off my comeback with one excuse or another and really it was just a fear thing. I’m not very technically minded, although I am trying to improve but I kept telling myself I couldn’t remember how to do this, or that, or the other. Recently I’ve realised (following a quick swift in the backside) that I needed to get back and I can continue to learn and develop as I go along.
Surely it’s not just me?
Does that ever happen to you – you want to do something, you know you should and you can but that little voice tells you that you can’t or you will fail and the little task suddenly becomes a huge mountain. The ladies that come to my classes regularly tell me that they can’t possibly make the card I’ve designed for the day. But guess what; they can and they do, they learn and follow the instructions so that by the end of the class they all have a perfectly hand crafted card (or three) to take home with them.
For me however the hardest thing is actually stripping it all back to basics and doing the simple stamping that Stampin’ Up! is trying to promote at the minute. Ask me to come up with something complicated or different – no problem…. but simple seems to stump me, for whatever reason. So this week I decided enough was enough we were going to do at least one simple stamping card at class and I was going to do at least one blog post! Well if you’re reading this then I’m delighted to say that I have achieved both!
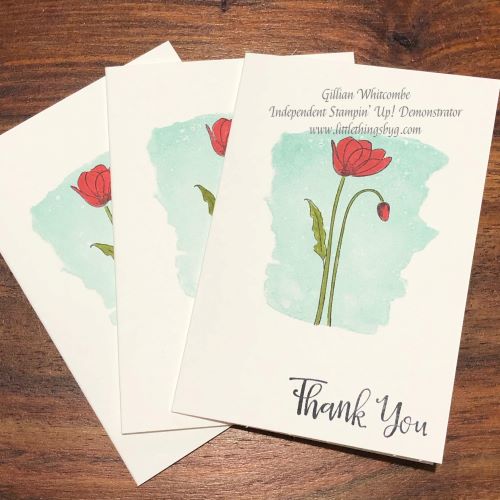
Anyway if you are still with me I have a card to share!
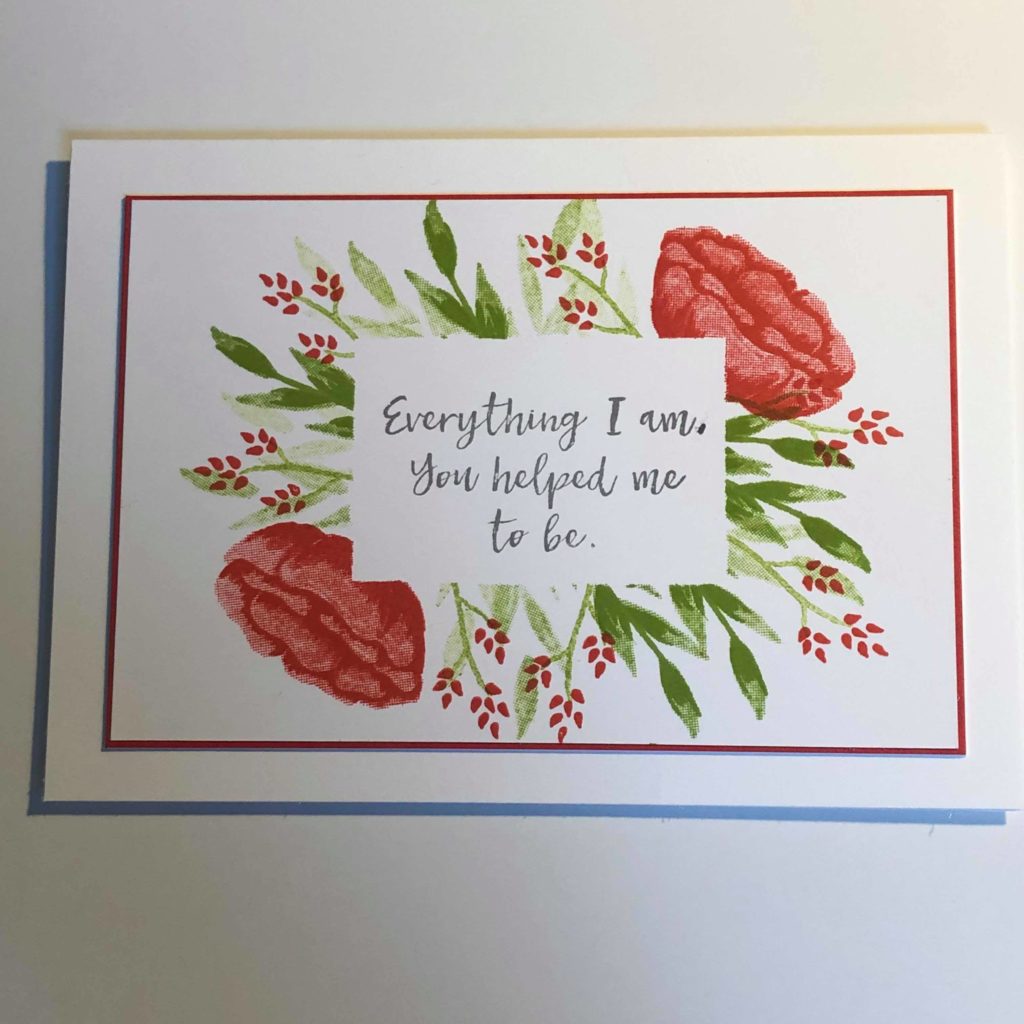
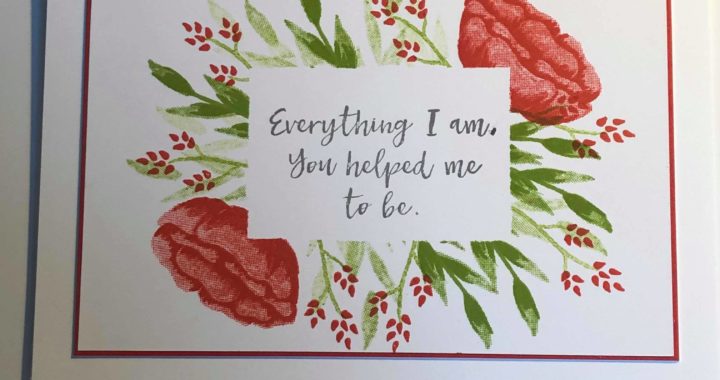
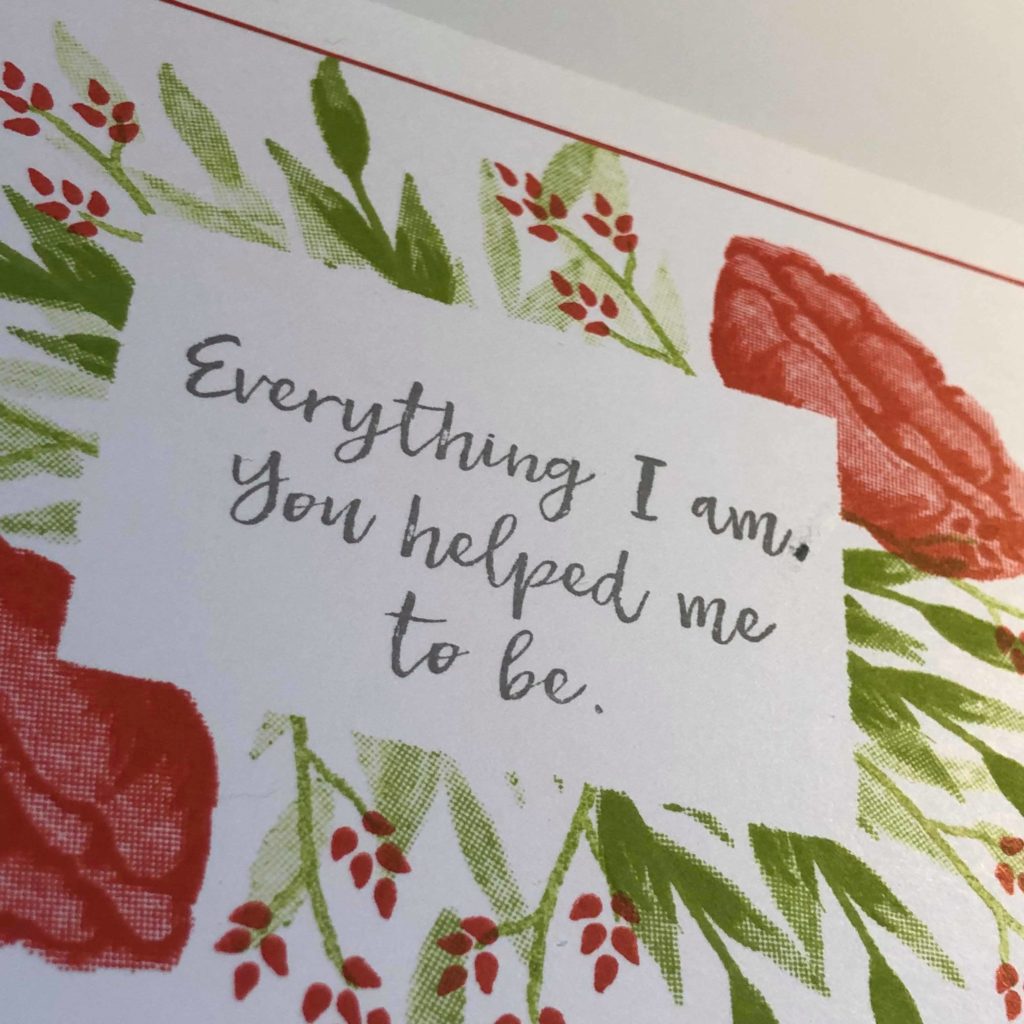
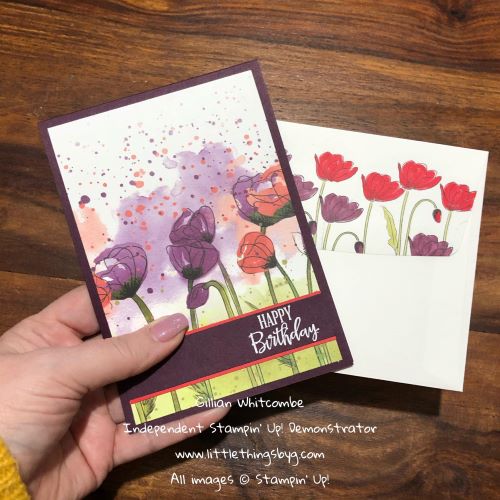
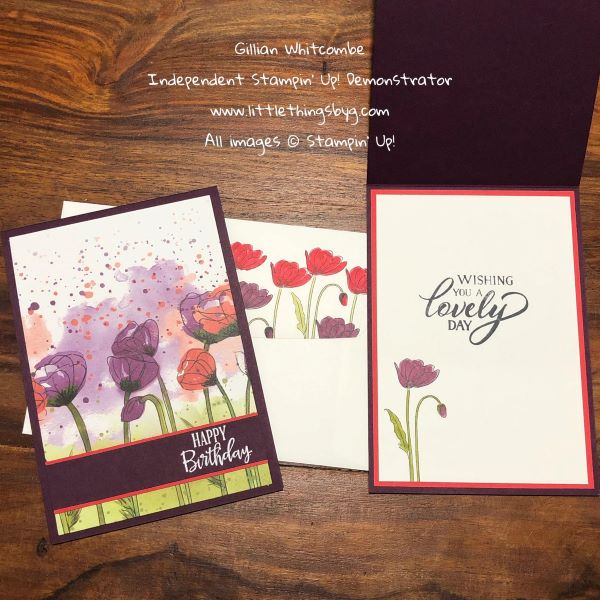
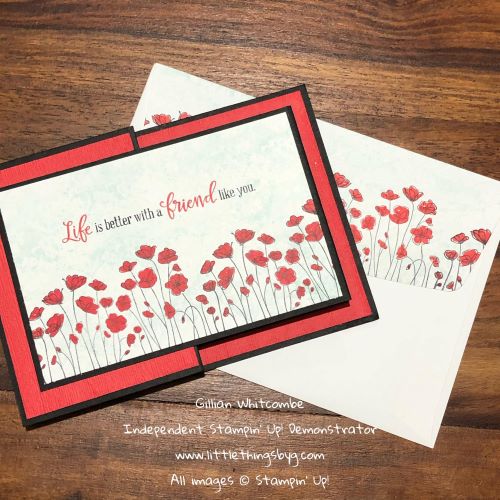
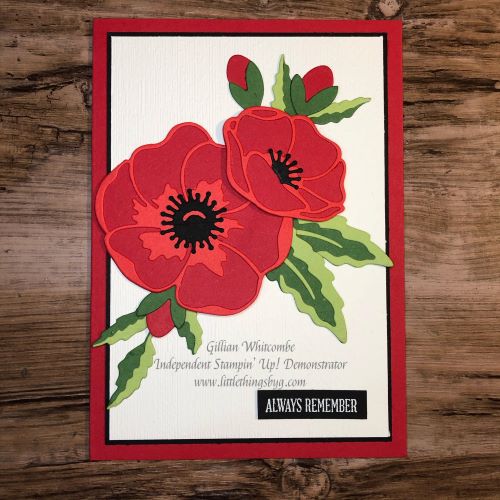
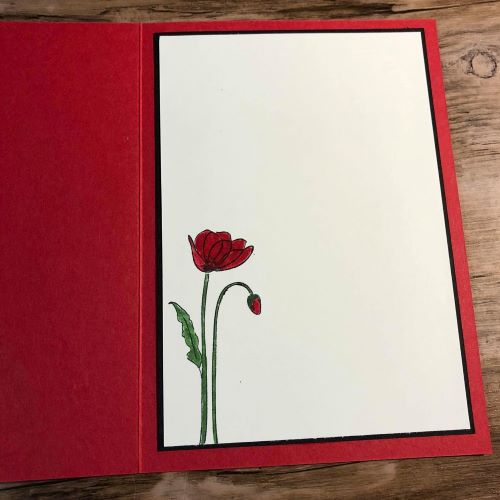
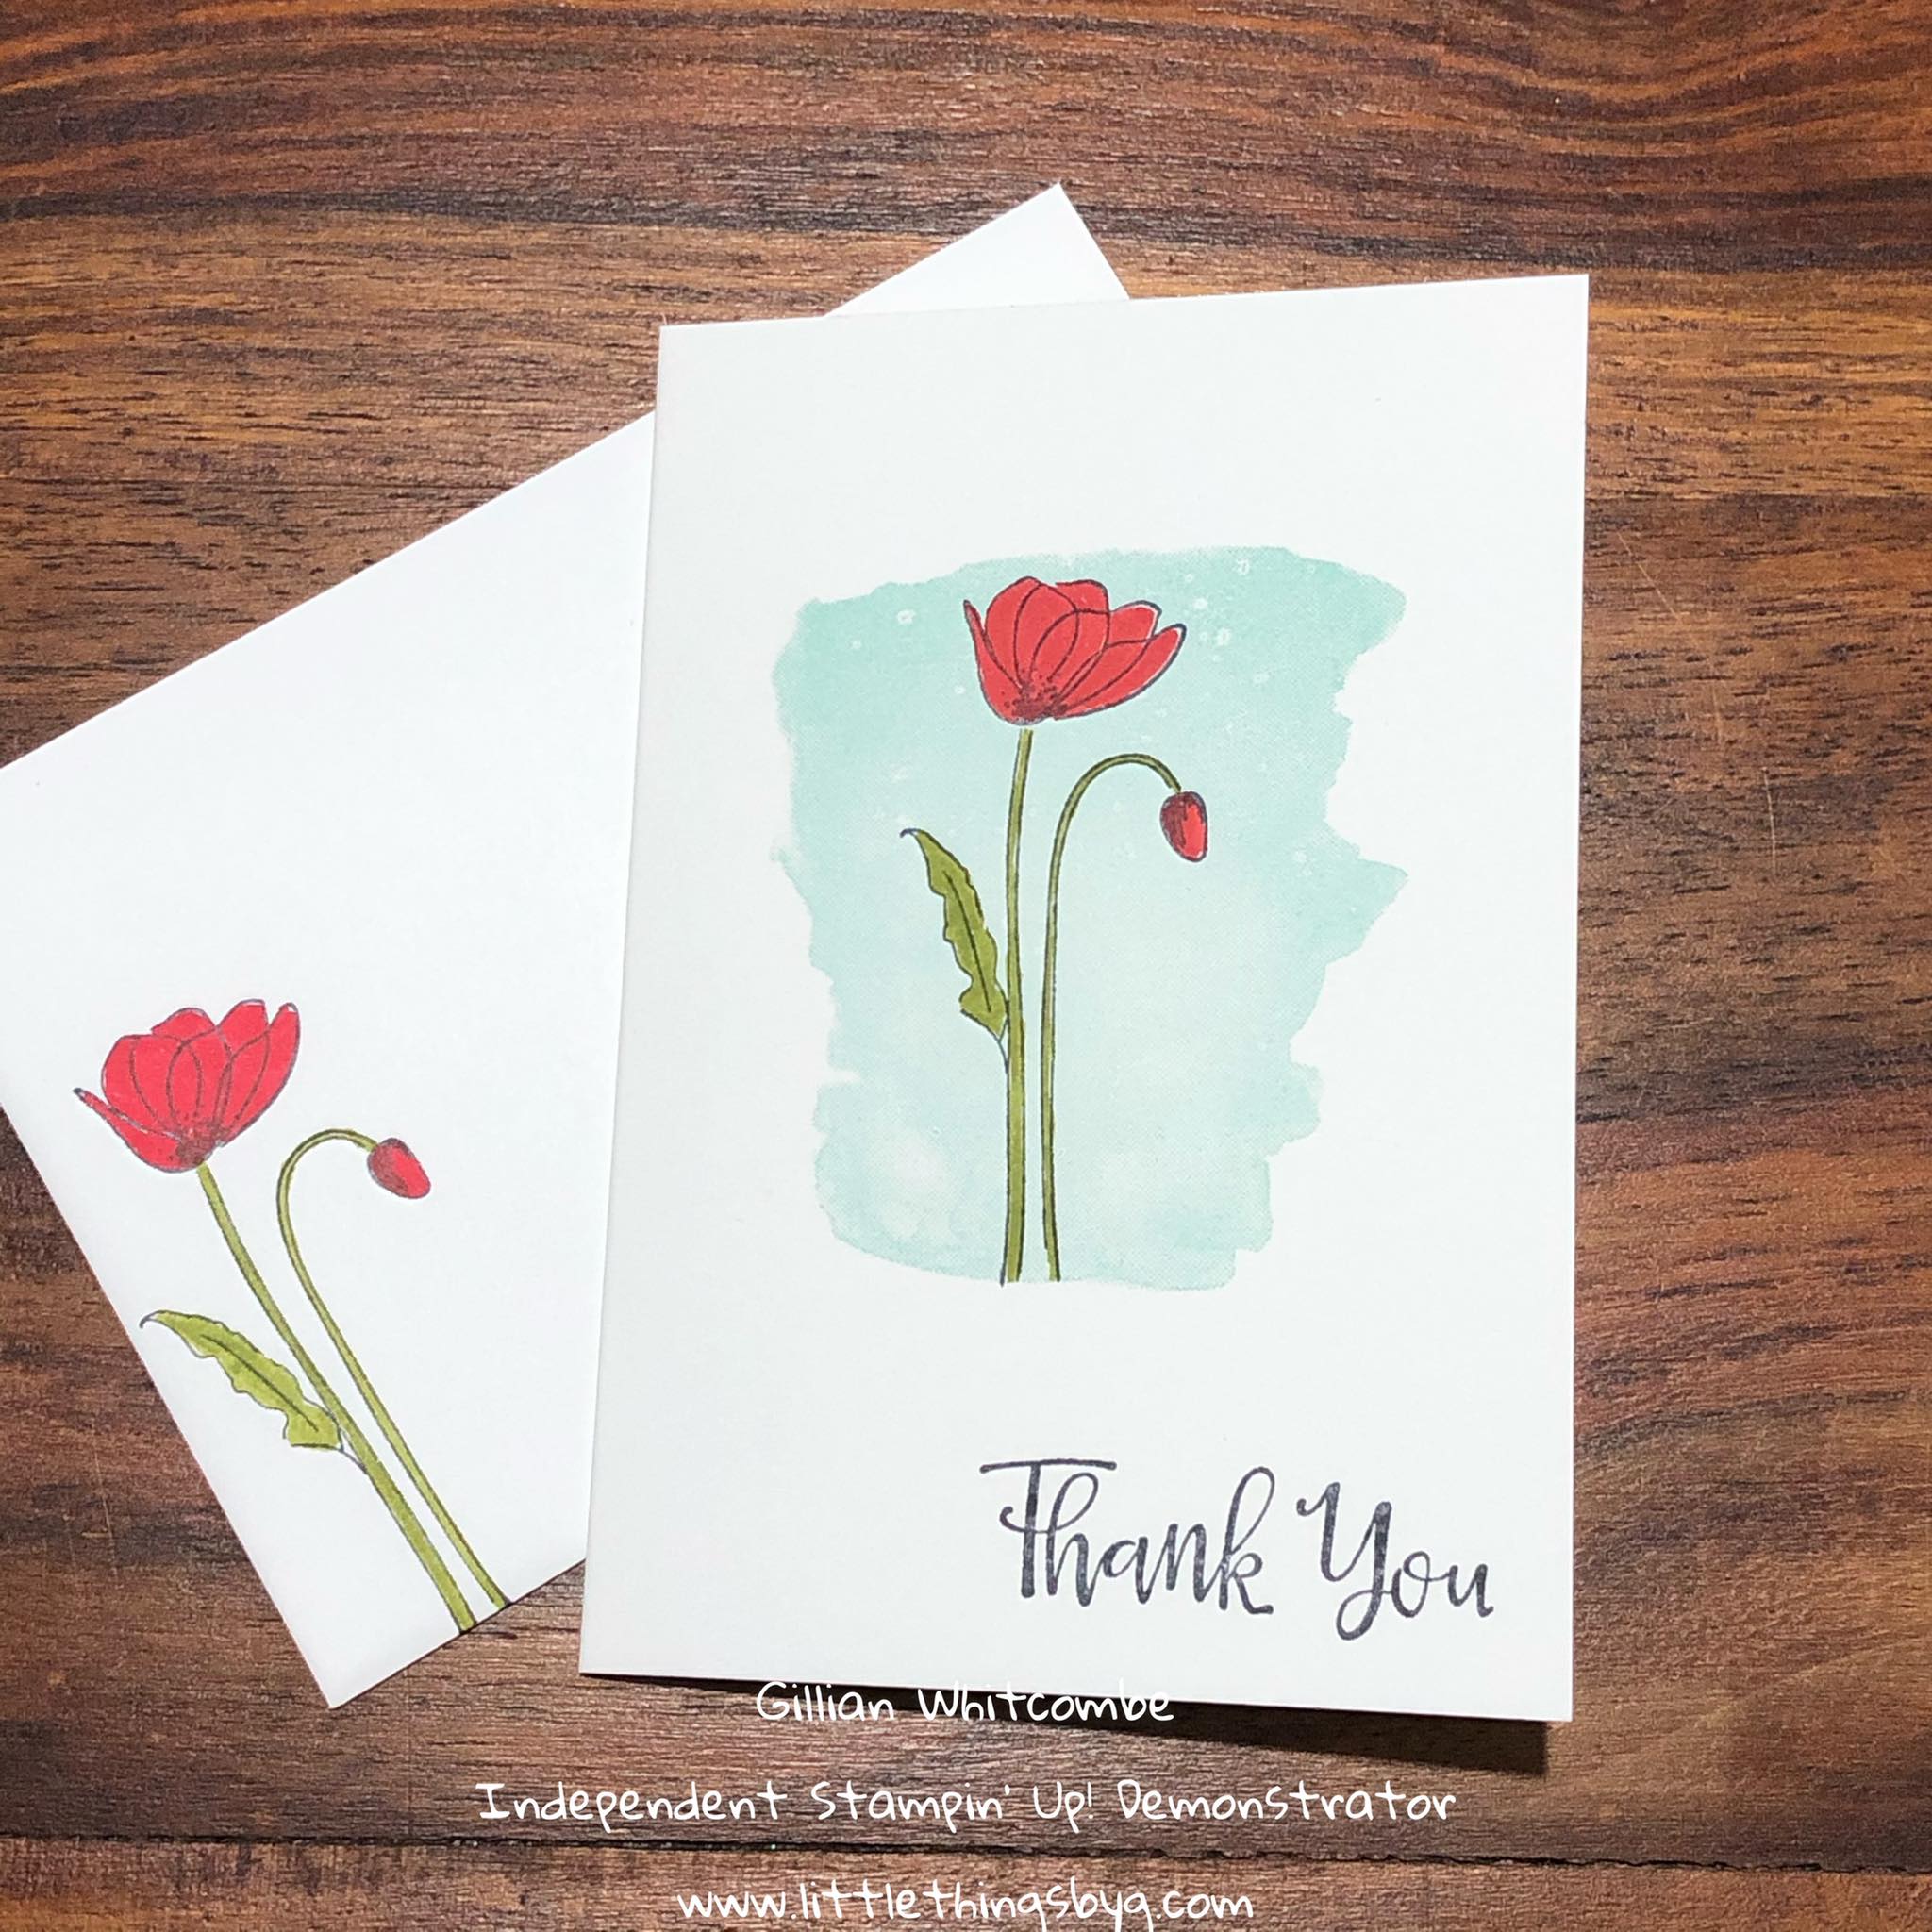
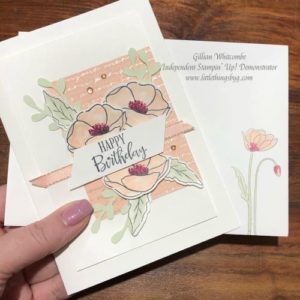
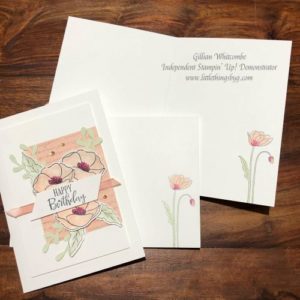
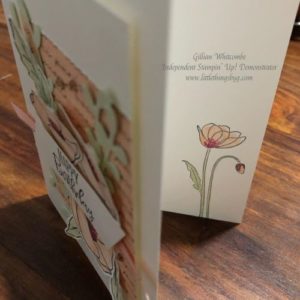
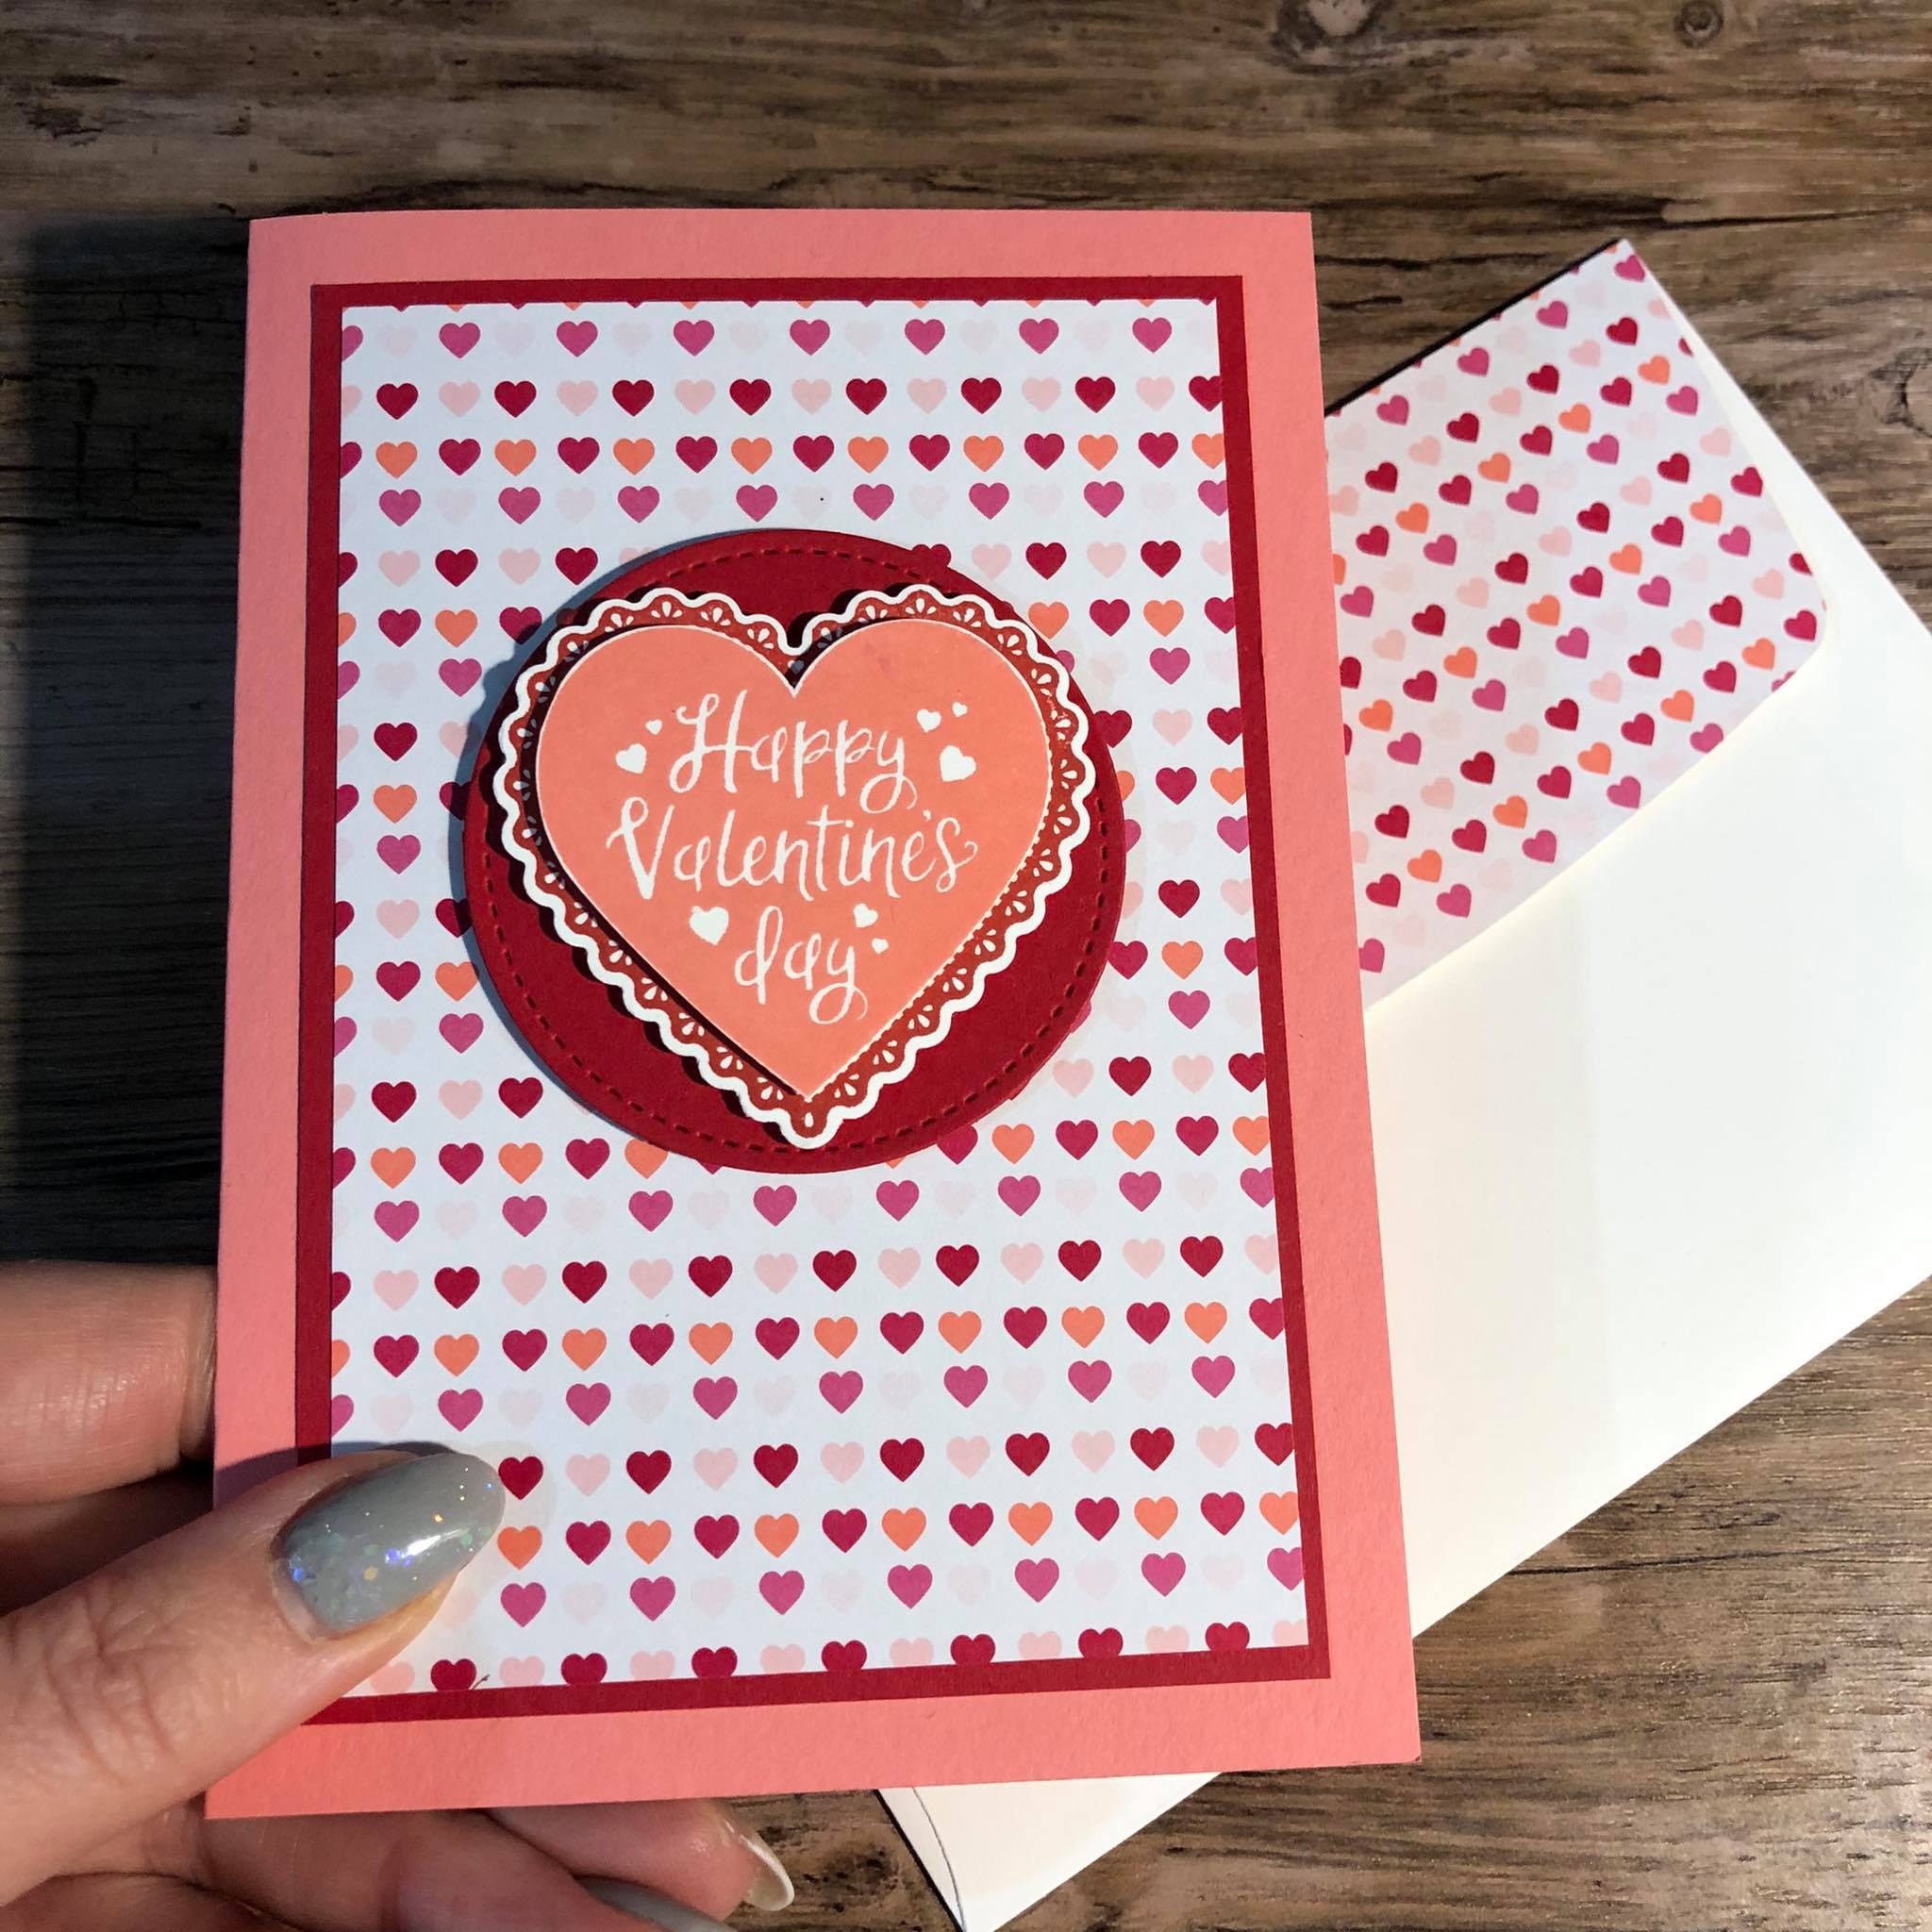
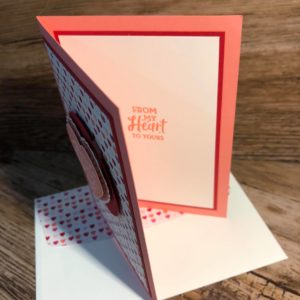
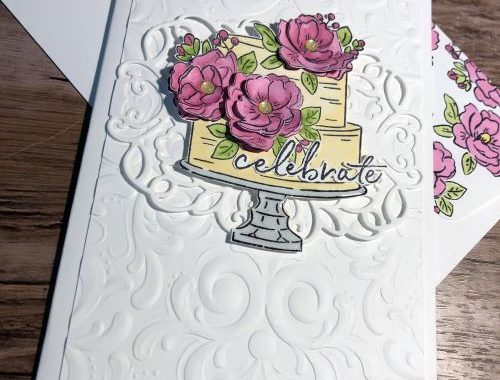
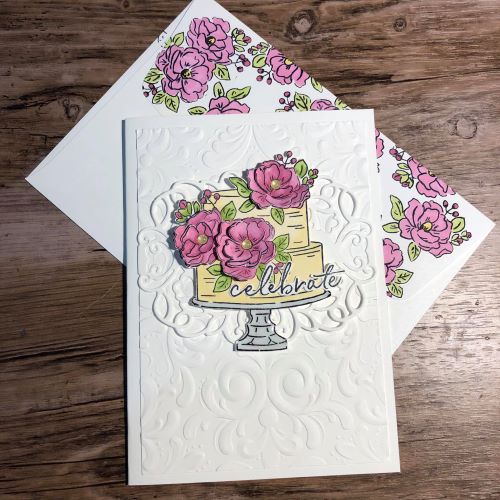
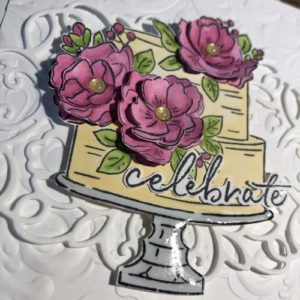
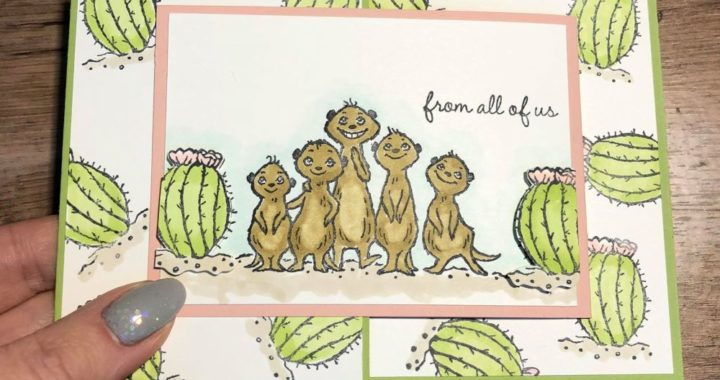
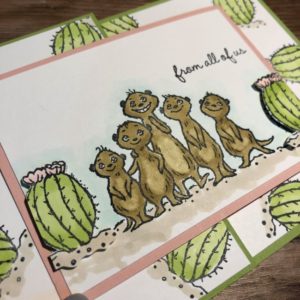
Now this may not look like a simple card but trust me it is! I made a little mask from a piece of copy paper and used low tack adhesive to stick it to the centre of the card. I then used the Incredible Like You stamp set to create the image. I used Poppy Parade and Granny Apple Green, with Basic Gray for the sentiment.
Tip
Quick tip to minimise the discolouration of polymer stamps, especially when using bright colours like Poppy Parade, ink up with versa mark before the colour. There will still be some staining but it does help minimise it.
This beautiful stamp set is one of our two step stamps and it creates this beautifully tonal image so simply!
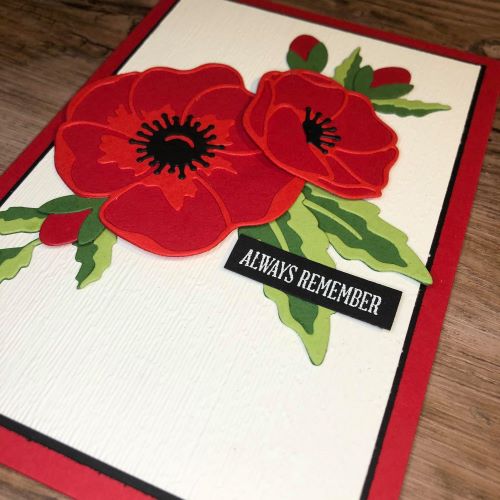
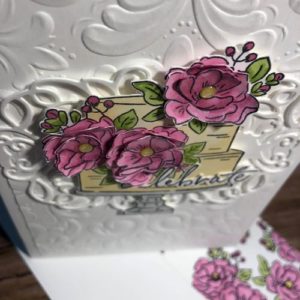
Once I had stamped the flowers and the foliage I simply removed the mask with care, made sure there was no adhesive remaining and then stamped my sentiment. And this particular sentiment is so beautiful and you can find it in Another Wonderful Year stamp set. I very nearly overlooked this set and it’s a new addition to my Stampin’ library but it’s a great all round set. You can find it on page 21 of the Annual Catalogue or click on the link to go straight to the shop!
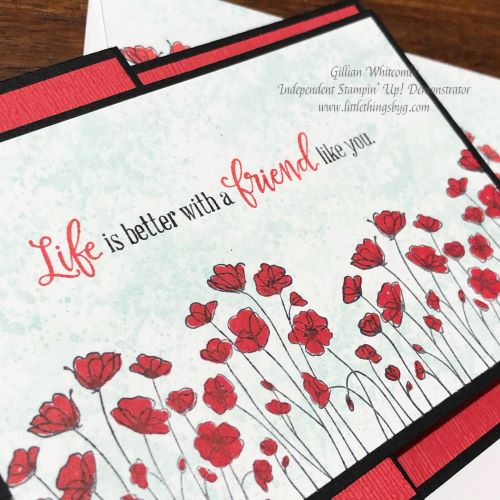
Here’s a close up of that gorgeous sentiment…
If you fancy having a go at making this gorgeous card yourself I’ve listed the supplies, including handy links to my 24/7 shop below:
Product List
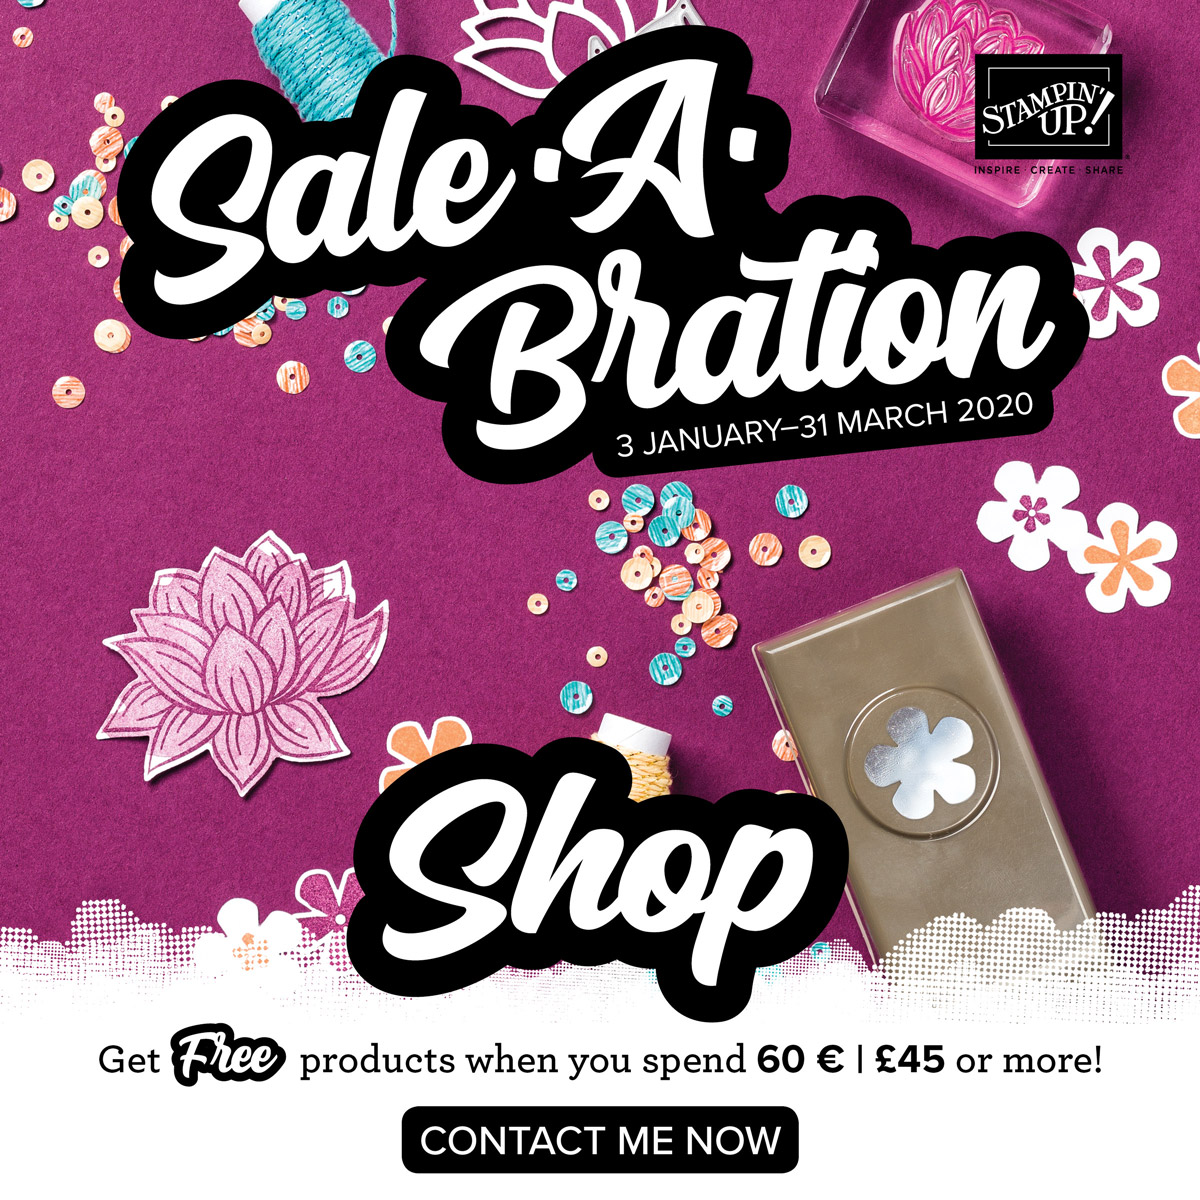
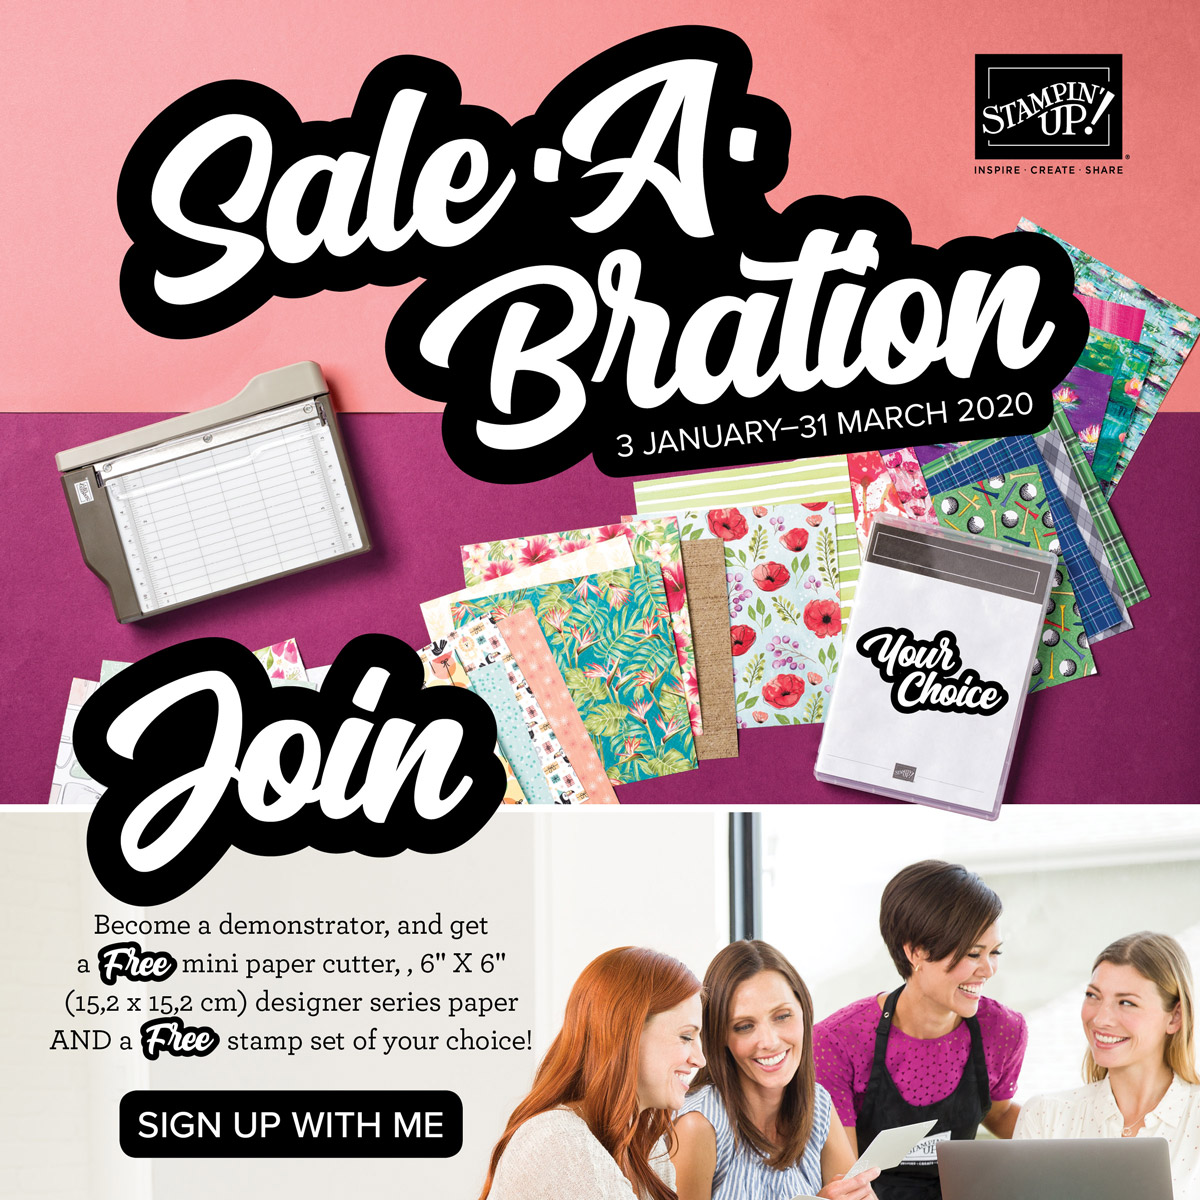
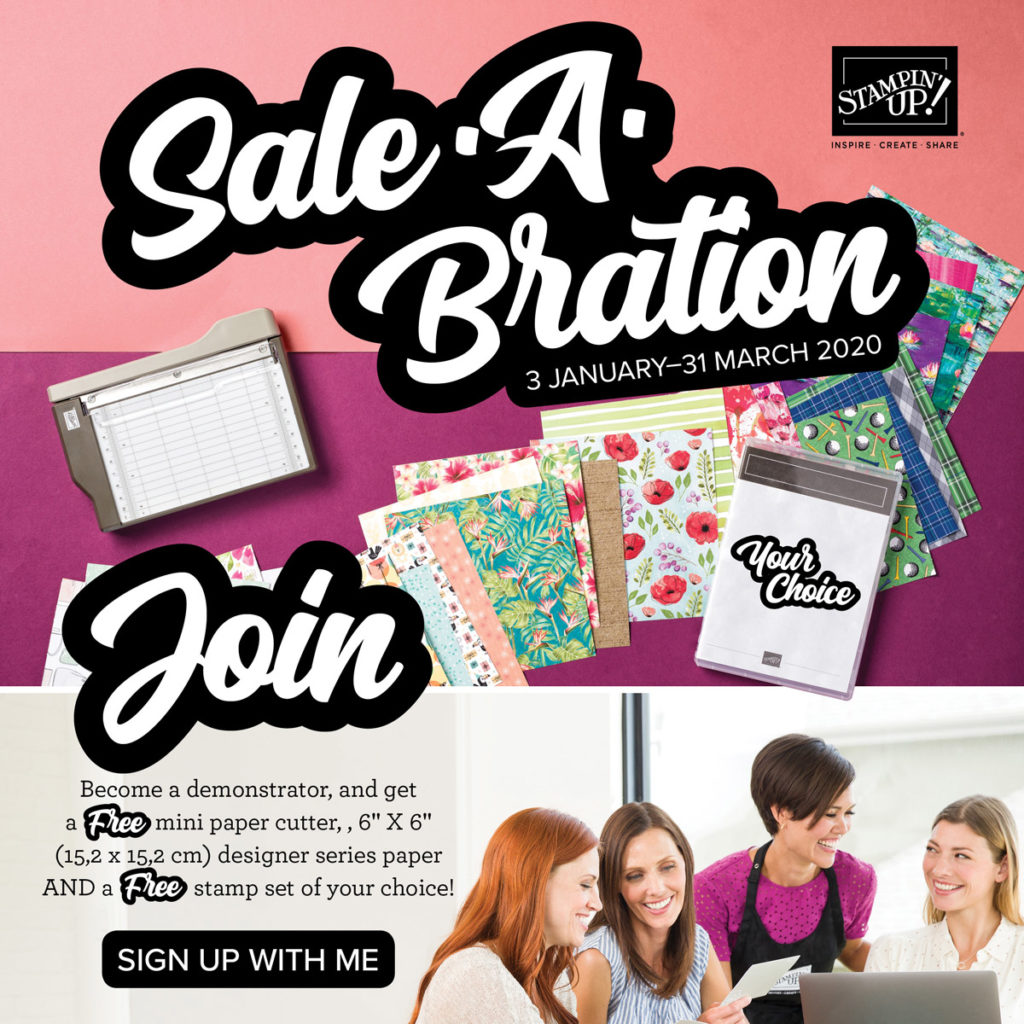
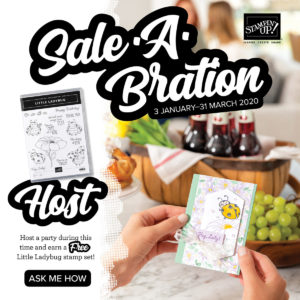
SALE-A-BRATION
Don’t forget there is still just over a week left to grab some sale-a-bration freebies. All you need to do is spend £45 in my online store and you get to chose an exclusive item for FREE! With time running out fast you’ll be want to be quick.
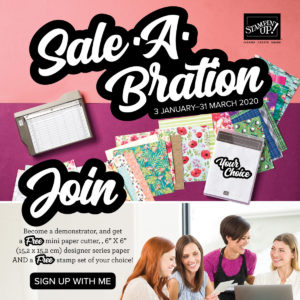
Speaking of Sale-a-bration and wanting to be quick the clock is also ticking on the fantastic joining offer that we have on. This offer ends, just like the freebies on the 31st March. So you might ask what makes this so special and why should you want to join. I can tell you now this is the best ever offer we have had, in my opinion anyway. seriously for only £99 you can select products with a retail value of up to £170. Plus you get free business supplies, but don’t let the word business put you off, I welcome hobby demo’s just as much as business on my team.
Whether you want to earn some extra money or simply get a discount for yourself now simply is the best time to join. The gorgeous tote bag in the photograph is an additional add on only available to those than join during sale-a-bration. This bag can be yours for an additional £25, believe me that’s a bargain! If you pick me as your demo you will receive all the help you need both creatively and otherwise to begin your Stampin’ Up! journey. It really is one you will never regret! If you are interested in joining my team just click the ‘Join my Team’ button from the home page.

Anyway, enough from me – for now! I’d love to hear what you think of my new blog and this simple card. But I guess really it’s always nice to know that we aren’t just talking to ourselves, so please drop me a comment – even just to say hi! I’ll appreciate it and hopefully knowing you are making me smile will make you smile too!
Have a great day!
Gillian xxx
")


")

")


")


 Metallic-Edge Ribbon")


")

")
")


 Double-Stitched Satin Ribbon")


")


")


 Specialty Designer Series Paper")
")


")


 Striped Ribbon")